
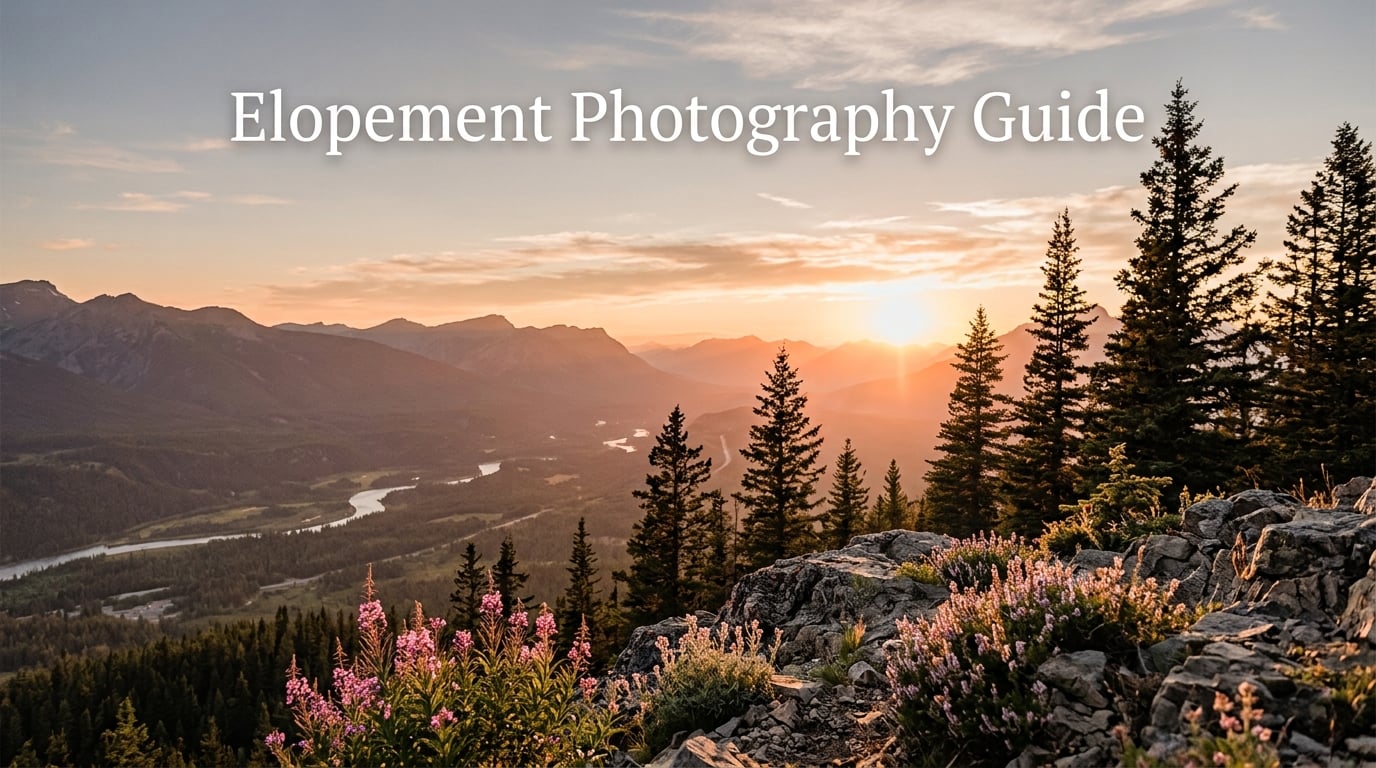
Welcome to our complete elopement photography guide for 2026. We have photographed hundreds of elopements across mountains, beaches, deserts, and courthouses, and we are sharing every lesson we have learned.
In this guide you will find planning steps, posing tips, camera settings, photo ideas, a full checklist, and answers to the questions our couples ask most. Whether you are a couple planning your intimate day or a photographer building an elopement business, this guide gives you a real working framework.
Elopement photography is about one thing above all else: capturing your authentic connection in a place that feels like yours. Let us walk you through how to make that happen, start to finish.
Table of Contents
What Is Elopement Photography and Why Is It Different?
Elopement photography is the art of documenting a small, intentional wedding ceremony that prioritizes the couple over tradition. It captures vows, candid moments, scenic portraits, and the small details that tell the story of your day.
Unlike traditional wedding photography, which often covers 8 to 12 hours and hundreds of guests, elopement photography typically covers 4 to 8 hours and focuses on just two people (sometimes a handful of guests). The pace is slower, the locations are usually more dramatic, and the photos lean heavily on emotion and landscape.
Here is how the three main styles compare:
- Elopement: Just the couple (and up to a few guests), 4-8 hour coverage, focus on intimate moments and scenic backdrops.
- Micro wedding: Up to 20 guests, 4-6 hour coverage, balance between ceremony traditions and intimate scale.
- Traditional wedding: 50+ guests, 8-12 hour coverage, formal portraits, group shots, reception coverage.
Elopement photography works best when the photographer doubles as a guide, helping you choose locations, build your timeline, and feel relaxed in front of the camera. At our studio we treat every elopement like a mini adventure with a built-in photo team.
The biggest difference is the storytelling. Traditional weddings often produce a chronological record of the day. Elopements produce an emotional portrait of your relationship set against a place you chose together.
How to Plan an Elopement: Step-by-Step Guide
Planning an elopement takes less time than planning a traditional wedding, but it still needs structure. These 14 steps walk you through everything from dreaming up the day to saying your vows.
Step 1: Dream and Scheme Together
Spend an evening talking about what you actually want from this day. Mountains, beach, city hall, backyard, foreign country. The clearer the vision, the easier every other decision becomes.
Save inspiration on a shared Pinterest board. Show each other photos that match your shared vibe. This board becomes your visual brief for vendors later.
Step 2: Choose a Date and General Region
Pick a date or month first, then a region. Season affects everything: lighting, crowds, permit availability, and travel costs. We always tell couples to think about what season feels most like your relationship.
If you have flexibility, shoulder seasons (late spring, early fall) give you good weather and fewer crowds.
Step 3: Decide If You Want Guests
Elopements do not have to mean just the two of you. Some couples invite 2 to 10 family members or closest friends. Some invite nobody and tell everyone afterward.
There is no right answer. The decision affects your timeline, location, and budget, so make it early.
Step 4: Set an Elopement Budget
Build a simple spreadsheet with these line items: photographer, officiant, attire, travel, lodging, permits, flowers, hair and makeup, and a small celebration dinner afterward.
Couples on Reddit report spending anywhere from $2,060 for a full package to $10,000 for a multi-day destination elopement. Most couples we work with land between $4,000 and $8,000 for a one-day elopement with photography included.
Step 5: Hire an Elopement Photographer
Book your photographer before booking your location. Photographers know which permits are easy, which spots are private, and how the light falls in different seasons.
Look for photographers whose past elopements look like real moments, not stiff portraits. Check their reviews for mentions of comfort, communication, and timeline help. We treat every couple like a planning partner, not a transaction.
Step 6: Pick Your Specific Location(s)
Choose one main ceremony location and one or two portrait locations. Common choices include national parks, mountain overlooks, beach coves, forest clearings, desert arches, vineyards, and historic courthouses.
Scout with your photographer if possible. If not, ask them to share a location guide with sample photos, best time of day, parking notes, and backup options.
Step 7: Apply for Your Elopement Permit
Most public lands require a permit for ceremonies, especially national parks, state parks, and beaches. Apply 3 to 6 months ahead for popular spots.
Your photographer often knows the exact permit process. We send every couple a checklist of permits they need based on their chosen location.
Step 8: Hire Additional Vendors
Most elopements need fewer vendors than a traditional wedding. Common additions include an officiant, a florist for a bouquet, and a hair and makeup artist.
For adventure elopements you may also need a hiking guide or a 4×4 driver. Build your vendor list based on your location, not your Pinterest board.
Step 9: Get Your Wedding Attire
Choose attire that fits your location. Heavy ball gowns do not belong on mountain trails. Lightweight fabrics, flowy dresses, and practical shoes work for outdoor elopements.
Bring a backup pair of shoes for walking, and consider how your dress moves in the wind. Movement photographs beautifully.
Step 10: Plan Out Your Elopement Activities
Elopements are not just a ceremony and a portrait session. Plan activities you both love: a hike, a picnic, a kayak ride, a helicopter tour, a hot spring soak.
Activities give your photographer candid moments and give you memories beyond the ceremony. The activity photos often become the favorites.
Step 11: Book Travel and Accommodations
Book lodging at least 3 months ahead for popular destinations. Stay two nights minimum so you are not rushing on the day of.
If flying, arrive the day before to adjust to time zones and scout the location in person if possible.
Step 12: Plan Your Elopement Timeline
A typical 6-hour elopement timeline looks like this:
- Hour 1: Getting ready photos, details, first look.
- Hour 2: Travel to first location, candid travel moments.
- Hour 3: Ceremony, vow exchange, family reactions (if guests present).
- Hour 4: Portrait session at main location, golden hour starts.
- Hour 5: Move to second location or activity, candid moments.
- Hour 6: Sunset portraits, intimate final shots, celebration toast.
Step 13: Final Prep for the Big Day
Two weeks before, confirm every vendor. One week before, pack your bags, charge batteries, print your vows, and pre-plan your travel route.
Day before: arrive early, hydrate, eat well, and sleep. The photos are best when you are rested.
Step 14: Enjoy Every Second
Trust your photographer, your timeline, and your planning. Be present. The day goes faster than you think, and the photos will tell the story you lived.
Elopement Photography Tips: Posing, Comfort, and Camera Settings
These tips come from real shoots we have done over the past several years. Some apply to couples, others to photographers. Together they cover the full elopement photography workflow.
Tip 1: Build Comfort Before the Camera Comes Out
Most couples feel awkward at the start. That is normal. The fastest way past it is to spend 15 minutes with your photographer doing nothing photographic: walking, talking, laughing.
Once you forget the camera is there, the real moments start. We always start with movement prompts (walk together, hold hands, dance it out) before any posing.
Tip 2: Use Simple Posing Prompts, Not Poses
Instead of telling a couple where to put their hands, we give them prompts: forehead to forehead, eyes closed, slow dance with no music, whisper something that made you laugh last week.
Prompts create authentic emotion. Poses create stiff portraits. Your photographer should know the difference.
Tip 3: Shoot During Golden Hour and Blue Hour
The best time of day for elopement photos is the hour before sunset (golden hour) and the 20 minutes after sunset (blue hour). Light is soft, warm, and flattering.
Build your timeline around golden hour for portraits and blue hour for intimate final shots. Midday sun creates harsh shadows unless you are in open shade or forested areas.
Tip 4: Use These Camera Settings as a Starting Point
For couples photography in golden hour:
- Aperture: f/2.0 to f/4.0 for creamy background blur.
- Shutter speed: 1/250s or faster to freeze movement.
- ISO: 100-400 in golden hour, up to 1600 in blue hour.
- Focus: Continuous autofocus on the nearest eye.
- Lens: 35mm for environmental, 85mm for portraits, 24mm for landscape scale.
Tip 5: Move Often
Standing still creates stiff photos. Walking, sitting, climbing, lying down, looking away, looking back: movement creates variety and emotion.
Tell your photographer to keep giving you small prompts every 60 to 90 seconds. The variety will show up in your final gallery.
Tip 6: Hire for Style, Not Just Price
The cheapest photographer is rarely the right choice. Couples on Reddit consistently say that photography style and personality fit matter more than price.
Look for photographers whose past galleries make you feel something. If their work makes you feel calm, excited, or emotional, they are probably your match.
Elopement Photo Ideas to Inspire Your Day
Here are 12 photo ideas we have seen work beautifully across hundreds of elopements. Mix and match based on your location and personalities.
- First look in nature: One partner waits at a scenic overlook while the other walks up.
- Vow exchange with a view: Read vows on a cliff, beach, or forest clearing.
- Walking away from the camera: Hold hands and walk into the landscape.
- Detail shots: Rings, bouquet, shoes, vow books, invitations, family heirlooms.
- Getting ready moments: Hair and makeup, buttoning the dress, putting on the suit.
- First dance alone: Slow dance with no music in the middle of a meadow.
- Cooking or eating together: Picnic, candlelit dinner, or cabin breakfast.
- Adventure activity: Hiking, kayaking, horseback riding, skiing, swimming.
- Sunset silhouette: Stand against the sunset and kiss.
- Smoky campfire portrait: End the night by a fire with soft warm tones.
- Letters from family: Read letters from loved ones during the day.
- Group shot with guests: Even just a few guests, capture a portrait together.
Pick 4 to 6 of these ideas and build your timeline around them. Trying to do everything usually means doing nothing well.
Elopement Photo Checklist: What to Capture
Use this checklist to plan your shot list with your photographer. It covers every major moment without overwhelming your timeline.
Getting Ready Photos
- Detail shots: rings, shoes, attire, invitations, flowers, vow books
- Hanging the dress or laying out the suit
- Hair and makeup process
- Putting on the dress or suit with help
- Getting ready laughter and candid moments
- First look with parent or wedding party (if applicable)
First Look Photos
- Reaction shot of partner seeing each other
- Hug and first words
- Walking together after the first look
- Quiet moment holding hands
Ceremony Photos
- Walking down the aisle (or trail)
- Exchange of vows
- Ring exchange
- First kiss as a married couple
- Walking back together after the ceremony
- Family and guest reactions
Portrait Session
- Wide scenic shots showing the location
- Medium portraits with landscape context
- Close-up portraits of the two of you
- Candid walking and movement shots
- Detail shots of hands, rings, flowers
- Sunset or blue hour portraits
- Silhouette or artistic wide shots
Activity and Celebration
- Adventure activity candid photos
- Picnic or dinner candids
- Champagne or cake cutting toast
- First dance alone
- Group photo with guests
- Sunset final portrait
Print this list and bring it to your final planning call with your photographer. Cross out anything that does not fit your day.
Frequently Asked Questions About Elopement Photography
What is the best time of day for elopement photos?
The best time of day for elopement photos is the hour before sunset, called golden hour. Light is soft, warm, and flattering on skin and landscape. The 20 minutes after sunset, called blue hour, is ideal for intimate and moody portraits. Midday sun creates harsh shadows and is usually the least flattering time.
How do I choose an elopement location?
Choose your elopement location based on three factors: the scenery that feels most like your relationship, the logistics (permits, travel, accessibility), and the light. National parks, beaches, mountains, forests, deserts, courthouses, vineyards, and backyards all work. Scouting with your photographer or asking them for a location guide is the best way to confirm your choice.
What should I include in my elopement photography checklist?
Include detail shots (rings, attire, flowers), getting ready moments, first look, ceremony coverage (vows, rings, kiss), portrait session at one or two locations, activity or candid shots, sunset or blue hour portraits, and a group photo with any guests. Build the checklist with your photographer and cross out anything that does not fit your timeline.
How much does an elopement photographer cost?
Elopement photographers charge between $1,400 for 3 hours of coverage and $4,000 to $10,000 for a full day with multiple locations. Pricing depends on the photographer’s experience, travel, hours of coverage, and what is included (such as planning help, albums, or second shooters). Most couples we work with spend $3,500 to $5,500 for a 6-hour elopement package.
How do I pose for elopement photos?
Do not pose. Use prompts instead. Prompts like forehead to forehead, slow dance with no music, walk hand in hand, whisper something funny, or close your eyes and breathe together create authentic moments. Your photographer should give you small prompts every 60 to 90 seconds to keep the gallery varied and emotional.
What should I wear for an elopement?
Wear what fits your location and the weather. For outdoor elopements choose lightweight fabrics, comfortable shoes for walking, and layers for temperature changes. Avoid heavy ball gowns on mountain trails. Bring a backup pair of shoes and consider how your outfit moves in the wind. Movement photographs beautifully.
Can you invite guests to an elopement?
Yes. Elopements do not have to mean just the two of you. Many couples invite 2 to 10 family members or closest friends. Some invite nobody and tell everyone afterward. The decision affects your timeline, location, and budget, so make it early in planning.
How do I plan an elopement timeline?
Plan your elopement timeline by working backward from sunset. Build 6 hours around getting ready, first look, ceremony, portrait session, activity, and sunset portraits. Travel time between locations, meal breaks, and buffer time for unexpected delays should all be included. Share the timeline with every vendor before the day.
Final Thoughts on Planning Your Elopement Photography
Elopement photography is about giving yourself permission to plan a day that is actually yours. This elopement photography guide gives you the structure to do that with confidence.
Start with the steps that match where you are in planning. Use the checklist to shape your shot list. Use the FAQ to answer the questions you have not asked yet. When you are ready, book a photographer whose past work makes you feel something, and trust them to guide you through the day.
Your photos are the only tangible memory you will have from your elopement. Plan them with care. Live the day fully. The rest will take care of itself.