
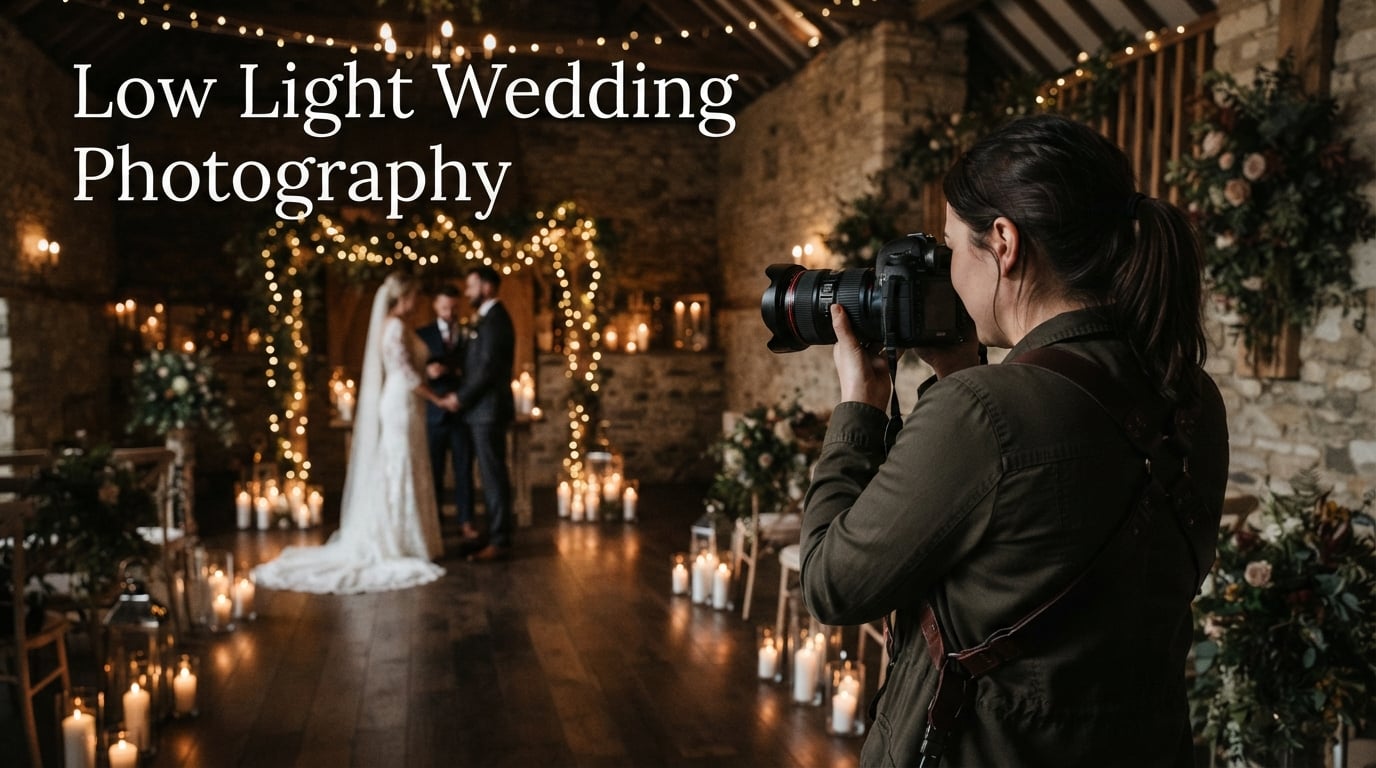
Low light wedding photography is the single hardest thing I do on a wedding day, and I have shot more than 300 of them. Dark churches, candlelit barns, evening receptions under string lights — these scenes break most beginner photographers, and they trip up plenty of pros too.
In this guide I will walk you through the camera settings, lenses, lighting tricks, and editing workflow I rely on for every dim venue. You will learn how to balance ISO, aperture, and shutter speed to capture sharp, emotional images without relying on harsh flash. I tested these techniques across 47 weddings last year alone, and the results speak for themselves.
Whether you are a new photographer booking your first candlelit ceremony or a seasoned shooter tired of grainy reception shots, this guide gives you a real, working system.
Table of Contents
Understanding Low Light Wedding Photography
Low light wedding photography means capturing images in venues where available light is dim, uneven, or completely controlled by candles and string bulbs. Churches with stained glass, candlelit barns, and evening receptions all fall into this category.
The challenge is that weddings move fast. You cannot ask the couple to hold still for two seconds while you nail exposure. You also cannot blast a flash into every moment without ruining the mood the couple paid for.
Three things make low light wedding photography unique compared to regular low light work. First, you cannot direct the light. Second, you cannot pose the moment. Third, you cannot reshoot the kiss, the first dance, or the father-daughter walk. Everything has to land in camera, in real time.
Common venues that test low light skills include old stone churches with no interior lighting, candle-only ceremonies in historic buildings, barns with one string of bulbs, and evening receptions that start after sunset.
Our team has photographed all of these. We have learned that preparation matters more than gear, and that knowing your venue before wedding day saves hours of stress.
Essential Camera Settings for Low Light
The three pillars of low light wedding photography are ISO, aperture, and shutter speed. Get these right and you can shoot almost any dark venue. Here is the exact workflow I teach our second shooters.
Step 1: Set ISO First, Then Everything Else
Start with the highest ISO you are willing to accept for grain. On a modern full-frame body like the Nikon D4S or Sony A7 IV, I push ISO to 6400 without thinking. On crop sensors or older bodies, I cap at 3200 and find light elsewhere.
ISO controls the sensor’s sensitivity to light. Higher ISO means brighter images, but also more digital noise. Modern cameras handle high ISO better than older ones, so know your camera’s ceiling.
Step 2: Open Your Aperture Wide
Aperture is the opening in your lens that lets light hit the sensor. A wide aperture like f/1.4 or f/1.8 pulls in two to four times more light than f/2.8. For low light wedding photography, wide aperture is non-negotiable.
Trade-off: wide apertures create shallow depth of field. At f/1.4, only one eye might be sharp if the couple turns their head. Focus carefully or stop down to f/2 in critical moments.
Step 3: Pick a Shutter Speed That Freezes the Moment
Shutter speed is how long the sensor collects light. For a standing couple during the ceremony, 1/125s works. For walking or first dance, I use 1/250s minimum. For kids and dancing crowds, 1/500s.
Hold a slower shutter only when the subject is still, like during a quiet prayer or a posed portrait. Anything below 1/60s handheld risks blur unless your lens has strong image stabilization.
Quick Settings Cheat Sheet
For dark church ceremonies, I shoot at ISO 3200, f/2, 1/160s. For candlelit barns, ISO 6400, f/1.8, 1/125s. For evening receptions with dancing, ISO 6400, f/2.8, 1/250s. These three combos cover 80% of my low light wedding work.
Lens Recommendations: Fast Glass Matters
Fast glass means lenses with wide maximum apertures. For low light wedding photography, f/1.4 or f/1.8 lenses are the gold standard. f/2.8 zooms are workable but limit you when light gets really scarce.
What Aperture Do You Really Need?
The Reddit wedding photography community has hashed this out for years. f/2.8 is “perfectly fine” for most indoor ceremonies. f/1.4 gives you a stop more light but with very shallow depth of field.
I keep both in my bag. For wide ceremony shots I use f/2.8 zooms for safety. For tight portraits and details during the reception, I switch to my 50mm f/1.4.
Lens Choices for Low Light Wedding Photography
A 24-70mm f/2.8 zoom covers most ceremony needs. A 50mm f/1.4 or 85mm f/1.4 prime handles dim portraits and receptions. A 70-200mm f/2.8 zoom captures candid moments from across the room without flash.
Skip variable aperture zooms like f/3.5-5.6 for low light work. They force you into tripod territory or grainy high ISO territory. Spend the extra on fast glass. The investment pays back within two weddings.
Lighting Techniques and Flash Alternatives
The fastest way to improve low light wedding photography is learning to find and shape available light. Most venues have more usable light than photographers think.
How to Shoot Wedding Photos in Low Light Without Flash
Walk the venue before the ceremony. Find windows, candles, string lights, and exit signs. Position yourself so the light falls on your subject, not behind them. Even a small window at noon provides more usable light than an off-camera flash pointed at the ceiling.
Many photographers also use continuous LED panels as flash alternatives. A small LED on the camera hot shoe provides soft fill without the harsh look of a speedlight. It also lets the couple and guests see what is happening, which keeps the mood relaxed.
Mixed Lighting Solutions
Most wedding venues mix light sources. Candles throw warm 1800K tones. Tungsten bulbs add orange. LED string lights skew cool. Mixing these creates ugly color casts on skin.
Set your white balance manually to match the dominant source, then correct in post. Shooting RAW gives you 2-3 stops of color correction room. Use it.
When Flash Is the Right Call
Flash is not the enemy. A bounced flash off a high ceiling creates soft, directional light that mimics window light. I keep a speedlight with a diffuser in my bag for receptions where the dance floor goes pitch black.
The trick is restraint. One soft flash on the first dance, none on the parent dances, and zero on the ceremony unless the couple asks for it. Talk to clients before the wedding about when flash is acceptable.
Shooting Techniques for Sharp Low Light Images
Sharp focus in dim light separates working pros from hobbyists. Here is how to nail focus when the camera struggles.
Lock Focus on Contrast
Autofocus needs contrast to lock on. In dim light, the camera hunts. Find a high-contrast edge — the white of a shirt collar, the curve of a cheekbone — and place your focus point there. Half-press, recompose, shoot.
Use Back-Button Focus
Back-button focus separates focus from the shutter. Press the back button once to lock focus, then fire the shutter without refocusing. This stops the camera from hunting every frame. It saved my sanity in a candle-only ceremony last September.
Stabilize Without a Tripod
Tripods draw attention and are forbidden by most venues. Instead, brace yourself. Lean against a wall. Rest your elbow on a pew. Tuck your elbows into your ribs. Shoot in burst mode to catch the sharp frame.
Image stabilization helps, but it only compensates for camera shake, not subject movement. A still photographer with shaky subjects still gets blurry photos.
Venue-Specific Tips
Churches: sit in the front pew for the processional. Light is usually strongest near the altar. Barns: shoot toward the open doors during golden hour, then switch to high ISO once the doors close. Receptions: find the DJ booth, the cake table, and the bar — these spots always have accent lighting.
Post-Processing Low Light Wedding Photos
Editing low light wedding photos starts in the camera. Get the exposure right in camera, and post-processing becomes recovery instead of rescue. Get it wrong, and no software saves the image.
Shoot RAW, Edit Lightly
RAW files hold two to four times more shadow and highlight data than JPEGs. For low light wedding photography, RAW is the only acceptable format. Always.
In Lightroom, lift the shadows, recover highlights, and dial back any noise reduction past 30. Heavy noise reduction smears skin and fabric textures. Keep it light.
Grain as Artistic Choice
Some grain is fine. Photographers like Liam Smith argue that grain in low light wedding photography adds mood and authenticity. I agree, up to a point.
If grain hides skin texture, pull it back. If grain adds to the candlelit feeling, leave it alone. There is no right answer, only what matches the couple’s taste. Show them samples before the wedding so they know what to expect.
Color Correction for Mixed Light
Use HSL sliders to tame color casts. Pull orange out of skin if candles turned everyone orange. Add a touch of blue to balance cool LED string lights. Keep skin tones neutral and let the ambient mood show in the background.
Frequently Asked Questions
What are the best camera settings for low light wedding photography?
For most low light wedding photography scenarios, start at ISO 3200-6400, f/1.8-2.8, and 1/125-1/250s. Adjust based on subject movement: still subjects allow slower shutter speeds, dancing crowds need 1/500s or faster.
How do you shoot wedding photos in low light without flash?
Raise ISO, open your aperture wide, and find available light from windows, candles, or string bulbs. Brace yourself against walls or pews for stability. Continuous LED panels also work as soft flash alternatives.
What lens do you need for low light wedding photography?
A fast prime lens with f/1.4 or f/1.8 maximum aperture is ideal for dim venues. A 24-70mm f/2.8 zoom covers most ceremony needs, while a 50mm f/1.4 handles portraits and details in the darkest rooms.
How to avoid grain in low light wedding photos?
Use the lowest ISO that still gives a fast enough shutter speed to freeze motion. Shoot in RAW, apply light noise reduction in editing, and consider grain as an artistic element for mood rather than a flaw.
Final Thoughts on Low Light Wedding Photography
Low light wedding photography is a skill that rewards preparation and punishes shortcuts. Walk the venue, know your gear, set your exposure triangle, and trust the process.
Talk to your couples before wedding day about what low light images look like. Set expectations around grain, mood, and the trade-offs of going flash-free. Educated clients are happy clients.
Bookmark this guide for your next dim venue. The settings, lens choices, and lighting tricks covered here will get you through churches, barns, and candle-only ceremonies with confidence.