
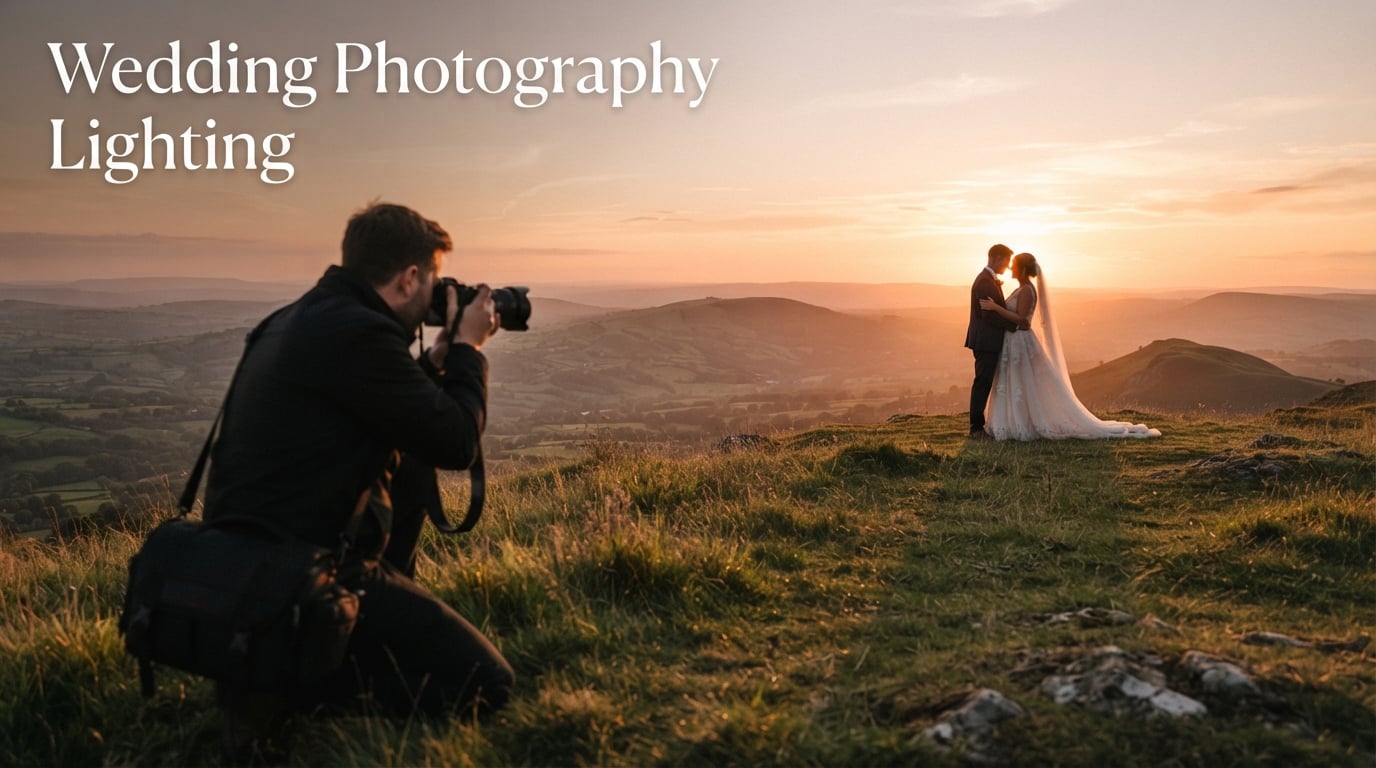
I have spent the last 11 years photographing weddings in everything from candlelit barns to bright Mediterranean coastlines. After thousands of ceremonies, I can tell you that wedding photography lighting is the single biggest factor that separates a flat snapshot from a frame your couple will frame on their wall.
In this guide, I will walk you through every lighting situation I face on a wedding day and the exact techniques that consistently produce flattering, atmospheric images. You will learn how to use natural light, when to add flash, how to handle dark receptions, and which camera settings to dial in for each phase of the day. Whether you are a new wedding photographer or a couple planning your timeline, this guide will give you a practical playbook you can use right away.
Wedding photography lighting is one of the most searched topics in our industry because so much rides on getting it right. A single missed exposure on the first kiss or a blown-out window behind the bride can ruin an entire album. The good news is that lighting is a learnable skill, and the gear required to get professional results is more affordable than ever. The rest of this guide is dedicated to showing you exactly how to build that skill, one phase of the day at a time.
Table of Contents
Natural Light Techniques for Weddings
Natural light is the foundation of beautiful wedding photography, and it costs nothing. Most of my favorite frames each year are captured using only sunlight, window light, or candlelight.
I always start by asking couples to share their venue floor plan and the orientation of the windows. That single piece of information tells me where to position the couple for portraits and when we can do soft, glowing shots versus when we have to fight harsh contrast.
Open Shade and Window Light
Open shade is the most flattering natural light source you will find at any outdoor venue. It is the soft, even light you get on the shaded side of a building, under a large tree, or beside a tall hedge, where the sun is hitting the ground around your subject but not their face.
Window light works the same way indoors. Place the couple three to five feet from a window with the light hitting them at about a 45-degree angle. You will get soft shadows that wrap around the face and catchlights in the eyes that look natural rather than manufactured.
I keep an eye out for pale walls, gravel paths, or even a white tablecloth that can bounce light back into shadow areas. On a recent wedding, I used the cream linen of the reception tables as a giant reflector during getting-ready portraits. The result was softer than any speedlight I own.
When window light is too directional, try hanging a sheer white curtain over the window to spread it out. I have used hotel curtains, muslin wraps, and even bridal veils to do this in a pinch. The bigger the light source relative to your subject, the softer the shadows will be.
Overcast Days Are Your Friend
Cloudy skies act as a giant softbox the size of a football field. I love overcast wedding days because I can shoot anywhere without worrying about harsh shadows or squinting subjects.
If you are photographing a wedding on a cloudy day, set your white balance to around 5500K, expose for the highlights on the face, and let the sky blow out slightly in the background. The diffused wraparound light is forgiving, flattering, and gives you consistent results all day long.
One trick I use on overcast days is to add a small amount of contrast and clarity in post. The flat light can leave skin looking a little dull, but a touch of structure in editing brings back dimension. I also bump the saturation by 5 to 10 percent to compensate for the cooler color temperature that clouds produce.
What Is the Best Lighting for Wedding Photography?
The best lighting for wedding photography is soft, directional light that flatters skin and creates depth without harsh shadows. In practice, that means open shade during the day, window light indoors, golden hour before sunset, and off-camera flash or LEDs when ambient light is not enough. Start with the most natural source available, then add supplemental light only when the scene calls for it.
Flash and Off-Camera Lighting Basics
Even the most natural-light photographer needs flash in their bag. I reach for flash when I am dealing with harsh midday sun, dark churches, dim reception halls, or when I want to add a creative rim light to a portrait.
The key is to use flash as a supplement, not the main source. Your goal is for the viewer to never notice that you used artificial light.
On-Camera Flash and Bounce Technique
On-camera flash with a rotating head is the fastest way to add light without lugging gear around. Point the flash head at the ceiling and let it bounce. You will get soft, even illumination across the scene with a directional quality that mimics natural overhead light.
At a wedding, I always dial my flash exposure compensation down by one to one-and-a-half stops. A flash that is too bright will flatten the scene and announce itself immediately. Subtle fill flash should look like the ambient light got a little boost.
If the ceiling is too high or too dark to bounce, swivel the flash behind you toward a white wall. The light bounces back and wraps around your subject beautifully. Bounce flash in a white church or tent can save a ceremony that would otherwise be a silhouette mess.
Setting Up Off-Camera Flash (OCF)
Off-camera flash gives you studio-quality control on location. For wedding receptions, my go-to setup is one flash on a light stand at camera-left about 45 degrees from the dance floor, plus a second flash or LED at camera-right for fill. A third light behind the couple acts as a rim or hair light to separate them from the background.
I usually run my OCF at one-quarter power and use TTL to meter quickly. Then I switch to manual once I have the look I want. A two-flash setup with a MagSphere diffuser or a 1-foot softbox is enough for most receptions up to 200 guests.
Keep your stands low and tucked behind tables or floral arrangements. Discreet lighting is professional lighting. Nobody wants a giant softbox in the middle of their first dance.
For ceremonies, I prefer a single off-camera flash tucked behind the officiant at a 45-degree angle. It catches both the couple and the officiant with soft, directional light and stays out of the guests’ line of sight. Use a CTO gel if the venue is lit warm to keep flash consistent with ambient color temperature.
The 3-Light Rule
The 3-light rule is a classic lighting setup that uses three separate light sources to create balanced, dimensional images. The key light is your main source, usually placed at 45 degrees to your subject. The fill light softens the shadows on the opposite side. The rim or backlight separates your subject from the background.
For weddings, you can shrink this idea to a single speedlight with a bounce card plus an on-camera fill. The principle is the same: one main, one fill, one separation. Done correctly, it is invisible.
Golden Hour and Backlighting for Portraits
Golden hour is the 60 to 90 minutes after sunrise or before sunset. The light is warm, directional, and soft enough to wrap around the face. I block off golden hour on every wedding day for portraits, even if it means pushing the couple’s timeline slightly.
The evening golden hour is particularly useful because it falls between the ceremony and the reception, when guests are typically at cocktail hour. Plan a 20-minute portrait session and you will return with some of the most flattering images in the entire gallery.
What Is Golden Hour?
Golden hour is the period shortly after sunrise or before sunset when the sun is low on the horizon, producing warm, soft, directional light. The color temperature drops to around 3000K to 3500K, which gives skin a flattering glow that no filter can fully replicate. For weddings, the evening golden hour is the most useful because it falls between the ceremony and the reception.
Plan your portrait session so the couple is standing in your chosen spot 15 minutes before the peak light. That gives you time to test exposure, find the angle, and let the couple relax.
Creating Rim Light with Backlight
Backlighting means placing the sun behind your subject and exposing for their face. You will get a glowing halo of light around hair and shoulders. This is the effect you see in magazine covers and engagement editorials.
To pull it off, set your camera to spot metering on the face, underexpose by about one stop, and let the background blow out into golden haze. If the sun is too strong, have the couple stand with the sun just behind one shoulder so the light grazes across their face.
Backlight works best when the air is slightly hazy, near water, or in open fields. Tiny particles in the air catch the light and create that signature dreamy glow.
Watch your lens for flare. A single streak of sun across the frame can ruin the shot, but a gentle haze in the corners adds atmosphere. Use your lens hood and shield with your hand to control where stray light lands.
Reception and Evening Lighting
The reception is where wedding photography lighting gets tricky. You are usually dealing with low ambient light, mixed color temperatures, DJ lights, and a moving crowd. I approach every reception the same way: scout the room during setup, identify the ambient color temperature, and choose a primary light strategy before guests arrive.
Most venues run at 2700K to 3200K. I set my camera white balance manually to match the ambient, then use a CTO gel on my flash to match as well. The result is consistent skin tones even when flash and ambient mix.
Handling DJ Lights and Mixed Colors
DJ lights create beautiful atmosphere and awful color casts. My approach is to either embrace the colors completely or override them with strong flash. Trying to balance them usually produces muddy skin tones.
For dance floor shots, I let the DJ lights do their thing and shoot at a slow shutter speed of 1/30 to 1/60 second. I add flash only as a subtle pop. The result feels like the room actually felt, with motion blur and color highlights intact.
If the DJ lights are too aggressive, ask the DJ to keep them off during speeches, first dance, and cake cutting. Most DJs are happy to cooperate when you explain you are trying to capture those moments properly. A quick 30-second conversation at setup saves hours of frustration later.
For candle-lit tables, expose for the flame and let the rest of the scene fall into shadow. A small candle produces about 1 lumen of light, so a wide aperture and ISO 1600 will let you capture that warm glow without any flash.
First Dance and Speeches
For the first dance, I usually set up one off-camera flash at camera-left and let the existing room lighting do the rest. I shoot at f/2.8, ISO 800 to 1600, and a shutter speed of 1/100 second. That keeps ambient atmosphere while flash freezes the couple.
During speeches, I turn off flash entirely unless the room is very dark. The candid emotion of a parent giving a toast is too precious to interrupt with bright pops. Bump the ISO up to 3200 or 6400 and embrace the grain if you have to. Modern cameras handle high ISO beautifully.
For cake cutting and parent dances, I use one off-camera flash with a small softbox pointed at the couple. I set it at half power so it complements rather than overpowers the existing lighting. A CTO gel keeps the flash warm and consistent with the venue’s ambient color.
Camera Settings for Different Lighting Situations
Lighting and camera settings go hand in hand. Here is my go-to reference card for each phase of a wedding day.
Outdoor Daylight Settings
During bright outdoor ceremonies, I shoot at 1/400 second, f/4, ISO 100. That freezes motion and keeps backgrounds sharp. If I am shooting wide open for portraits, I switch to 1/2000 second, f/2.8, ISO 100.
For open shade portraits, I push ISO up to 400 to compensate for the lower light and stay at f/2.8 for shallow depth of field.
Backlit golden hour portraits call for spot metering on the face and exposure compensation of minus one stop. That keeps skin tones rich while letting the background glow.
Indoor and Reception Settings
For indoor ceremonies, start at 1/200 second, f/2.8, ISO 800 to 1600. Adjust shutter speed up or down to control ambient. ISO is your friend indoors, so do not be afraid to push it.
For reception details, I usually shoot at 1/125 second, f/2.8, ISO 800. That lets me capture candle glow and string lights while keeping subjects sharp enough.
During the dance floor, switch to 1/100 second, f/2.8, ISO 1600 to 3200. That combination holds ambient color while keeping movement reasonably sharp.
For toasts, dial in 1/200 second, f/1.8 to f/2.8, ISO 3200. The wider aperture lets more light in and creates separation between the speaker and the background.
Quick Lighting Hacks and Mixed Light Editing
These are the field-tested tricks I share with the photographers I mentor. They take seconds to apply and they save frames that would otherwise be lost.
Practical Hacks for the Field
Carry a small collapsible 5-in-1 reflector in your car at all times. A 42-inch silver/gold reflector solves 90 percent of harsh-light problems in under a minute.
Use your camera’s histogram, not the rear screen, to judge exposure. The screen lies, especially in bright sun. The histogram tells the truth every time.
If you forget your flash, your phone flashlight held by an assistant at a 45-degree angle can save a portrait in a pinch. I have done this and it works.
Scope the venue the day before whenever possible. Walk the room and find the corners where light pools. Those become your portrait stations during the reception.
Keep a small battery-powered LED panel in your bag for tabletop details and getting-ready shots. Continuous light lets you see exactly what you are going to capture, which makes styling jewelry and shoes much easier than flash.
Always have a backup battery for every light. Nothing kills momentum faster than a flash dying mid-ceremony. I carry four spare batteries for every speedlight I bring.
Fixing Mixed Lighting in Post
Mixed lighting is the rule, not the exception, at modern weddings. Candles, LEDs, fluorescent venue lights, and flash all collide in the same frame.
My editing workflow starts by picking a single white balance that flatters the skin. Then I mask the background and adjust its temperature and tint separately. In Lightroom, I drop a radial filter on the background and warm it slightly to keep the ambient mood.
For dance floor shots with wild color casts, I drop saturation in the red and orange channels on the skin only, then add a tiny bit of magenta to neutralize greens from DJ lights. The whole process takes about 30 seconds per image once you build the workflow into a preset.
I save three core presets: one for outdoor daylight, one for indoor ceremony, and one for reception. Each handles the common white balance and tone curve shifts for that phase. From there, I make small manual tweaks per image.
Helping Couples Plan Their Day Around Light
As a wedding photographer, one of the most valuable services you can offer is helping couples plan their timeline around light. Most couples have no idea that an outdoor ceremony at 2 pm will produce harsh shadows and squinting, or that an evening reception under string lights will require supplemental flash.
I send every couple a one-page guide explaining how light shifts through the day and which times of day work best for portraits. I also recommend specific portrait windows based on their venue orientation and the season of their wedding.
For couples planning their wedding, here are three simple tips to make sure your photographer captures the best light. First, schedule your ceremony and portrait session to avoid the harshest midday sun. Second, choose a venue with large windows for indoor getting-ready photos. Third, talk to your photographer about the lighting plan for the reception before you book the DJ and lighting vendor.
These small planning conversations make the difference between a wedding album you love and one with consistent lighting headaches. The best photographers collaborate with couples on light, and the best couples invite that conversation.
Frequently Asked Questions About Wedding Photography Lighting
What is the best lighting for wedding photography?
The best lighting for wedding photography is soft, directional light. Open shade, window light, and golden hour are the top natural choices. Add off-camera flash or LED panels when ambient light is too low or too mixed. The goal is flattering skin, depth, and a mood that matches the venue.
What is the 30 5 rule for weddings?
The 30 5 rule for weddings refers to blocking 30 minutes of buffer time around 5 key transitions in the wedding day: getting ready to first look, first look to ceremony, ceremony to cocktail hour, cocktail hour to reception, and reception to send-off. This buffer protects your lighting plan when running late.
What is the 3 light rule?
The 3 light rule uses three light sources to create balanced, dimensional images: a key light at 45 degrees, a fill light to soften shadows on the opposite side, and a rim or backlight to separate the subject from the background. For weddings, one speedlight with a bounce plus on-camera fill can replicate the same effect.
What is the 20 60 20 rule in photography?
The 20 60 20 rule in photography refers to image distribution: 20 percent of your shots will be hero shots, 60 percent will be solid keepers, and 20 percent will be experimental or candid moments you may or may not use. It helps wedding photographers plan shot lists and culling sessions realistically.
Final Thoughts
Wedding photography lighting is less about expensive gear and more about seeing the light that already exists. Start with natural light, add flash or LED only when the scene demands it, and always protect the atmosphere of the moment. Master these wedding photography lighting techniques and your galleries will feel timeless, emotional, and unmistakably yours.
Pick one section from this guide, practice it on your next shoot, and let the rest build from there. Save this page, share it with couples who want to understand your process, and revisit it before every wedding to sharpen your lighting instincts.