
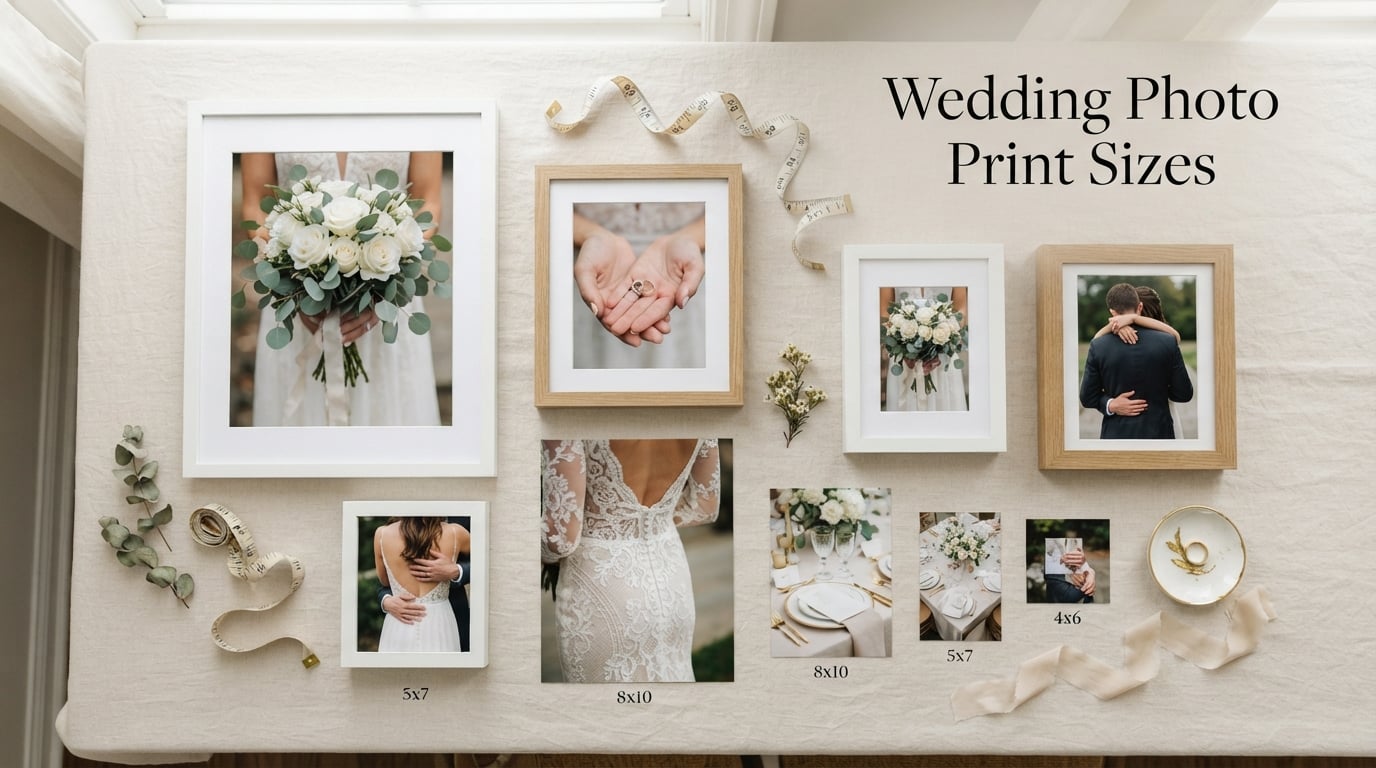
Choosing the right wedding photo print sizes is the single biggest decision you’ll make after the wedding day itself. Print too small and your once-in-a-lifetime images look lost on the wall. Print too large without enough resolution and you’ll see every soft edge.
Our team has shot weddings for over a decade, and we’ve guided hundreds of couples through exactly this decision. In this guide for 2026, I’ll walk you through standard wedding photo print sizes, how to match them to the room, and how to avoid the cropping mistakes we see every season.
Table of Contents
Standard Wedding Photo Print Sizes at a Glance
The standard wedding photo print sizes you’ll choose from run from 4×6 inches all the way up to 30×40 inches and beyond. Knowing what each size is best for saves you from guessing, and from expensive reprints.
| Print Size (inches) | Print Size (cm) | Aspect Ratio | Best For |
|---|---|---|---|
| 4 x 6 | 10 x 15 | 3:2 | Album inserts, guest book extras, parent thank-you prints |
| 5 x 7 | 13 x 18 | 5:7 | Small tabletop frames, mantle accents, gifts to grandparents |
| 8 x 10 | 20 x 25 | 4:5 | Classic tabletop frame, gallery wall starter, modest wall hangings |
| 8 x 12 | 20 x 30 | 2:3 | Closest match to full-frame DSLR images, popular wall size |
| 11 x 14 | 28 x 36 | 11:14 | Bedroom or hallway feature piece |
| 12 x 18 | 30 x 46 | 2:3 | Statement wall prints, above-couch anchor image |
| 16 x 20 | 41 x 51 | 4:5 | Living room focal piece, formal portrait |
| 16 x 24 | 41 x 61 | 2:3 | Hallway gallery, large statement wall |
| 20 x 24 | 51 x 61 | 5:6 | Mantle display, formal portrait above a fireplace |
| 24 x 36 | 61 x 91 | 2:3 | Oversized statement piece, entryway focal |
| 30 x 40 | 76 x 102 | 3:4 | True statement art, lobby or stairwell |
The 2:3 ratio is the sweet spot because most DSLR and mirrorless cameras capture in this proportion natively. When you print at 4×6, 8×12, 12×18, or 24×36, you’ll never crop a single pixel of the original image.
Wedding photographers often recommend sticking to sizes that match the camera’s sensor ratio because it preserves the entire composition the photographer framed on the day. Any deviation forces a crop, and even a small crop can change the storytelling of the image.
How to Choose Wedding Photo Print Sizes by Display Location
The right wedding photo print sizes depend almost entirely on where the photo will live. A print that’s perfect above the sofa will look tiny on a long hallway wall, and a print that’s perfect on a hallway wall will feel cramped over a bedside table.
Tabletop and Mantle Display Sizes
Tabletop frames look balanced between 5×7 and 8×10. Anything smaller than 5×7 gets visually overpowered by the frame. Anything larger than 8×10 starts to crowd the table and feel like it’s competing with the rest of the room.
For mantle displays, 8×10 prints in matching frames create a clean rhythm across the length of the mantel. Pair an odd number of frames for the most pleasing visual pattern. Three frames usually looks better than two or four because the eye reads odd numbers as more dynamic.
Mantle prints also benefit from leaning the frames rather than hanging them. A lean-style frame adds depth and a more casual, lived-in feel to the display. It also lets you swap prints seasonally without patching holes in the wall every time.
Wall Art and Gallery Walls
Wall art prints should match the furniture beneath them. A common rule of thumb is that the print should be roughly two-thirds the width of the sofa, table, or bed below it.
- Above a 7-foot sofa: choose 24×36 or two 16×20 prints side by side.
- Above a 5-foot console table: choose 16×20 or 20×24.
- Above a queen bed: choose 24×36 as a single anchor piece.
- Above a twin or full bed: choose 16×20 or 20×24.
Gallery walls work best with a mix of sizes. Combine 8×10, 11×14, and 16×20 prints in matching frames for a cohesive look that doesn’t feel uniform or stiff.
When you plan a gallery wall, lay everything out on the floor first. Trace each frame onto kraft paper, tape the templates to the wall, and live with them for a few days. This trick saves you from making dozens of nail holes before you find a layout you love.
Hallway and Stairwell Prints
Long, narrow spaces call for prints that match the wall shape. 8×12, 12×18, and 16×24 prints in 2:3 ratio fit hallway proportions beautifully. They read as part of the architecture instead of fighting it.
For stairwells, lean into the diagonal line of the staircase. A staggered row of prints that follows the stairs creates movement and tells the story of your day in sequence.
Hang stairwell prints about 9 to 10 feet apart and at eye level for someone walking up the stairs. The diagonal line of the stair railing should roughly match the diagonal you create with the frames.
Wedding Album Photo Sizes
Wedding album photo sizes are not the same as wall prints. Most album spreads are designed around 10×10, 12×12, or 11×14 pages, and individual photos inside the album rarely exceed 8×10.
Common album print sizes include 4×6 for collage spots, 5×7 for hero shots, and 8×10 for full single-page layouts. Reserve your very best image for a full-page or two-page spread where it has room to breathe.
If you’re building a lay-flat album, ask your album company about bleed area and safe zones. Bleed is the small margin the printer needs to wrap the image around the page gutter. Most companies print 0.125 inch on each side, which means your hero photo needs to be composed with that in mind.
Understanding Wedding Photo Aspect Ratios and Cropping
An aspect ratio is the proportional relationship between a photo’s width and height. When the print’s aspect ratio doesn’t match your image, something has to give, and that something is usually your composition.
The bigger the mismatch between your image’s aspect ratio and the print’s ratio, the more of your image you’ll lose. A 2:3 image printed at 8×8 loses 22 percent of the original frame. The same image printed at 16×20 loses only 8 percent.
The 2:3 Ratio (3:2 Sensor)
The 2:3 ratio is the most common for full-frame and crop-sensor cameras. Prints sized 4×6, 8×12, 12×18, 16×24, and 24×36 all share this ratio, which means no cropping is required.
If your photographer delivered files in 2:3 and you print at any of these sizes, you’ll see exactly what was framed on the camera. This is one reason many couples lean toward 2:3 prints when they want the original composition preserved.
The 4:5 Ratio (4:5 Print)
The 4:5 ratio shows up in 8×10, 16×20, and 20×24 prints. It’s slightly taller than the 2:3 ratio, so a 2:3 image will lose a thin horizontal slice on the top and bottom when printed at 4:5.
This is usually a safe crop if your photographer left breathing room in the composition. Ask them to confirm if you’re uncertain about specific files.
The 1:1 and 5:7 Ratios
Square 1:1 prints (8×8, 10×10, 12×12) and 5×7 prints require more aggressive cropping. Square prints are popular for Instagram-style wedding albums, but they can cut off important context in landscape shots.
Before committing to square prints, preview the crop on a phone or laptop. Look closely at the corners, because that’s where the most dramatic cropping happens.
Portrait-oriented wedding shots, like the kiss, the first look, and tight ring exchanges, usually survive square crops well. Wide landscape shots, like full church aisles or wide reception toasts, often lose important content when cropped to a square.
The 2/3 Photo Rule
The 2/3 photo rule states that your frame, mat, and photo together should occupy about two-thirds of the wall space available. This is what keeps prints from looking either lost or overwhelming on the wall.
Measure the width of your wall and divide by three. Multiply the larger number by two to find your ideal framed width. It’s a quick calculation that prevents most sizing regrets.
Frame Size vs Photo Size: Doing the Math
The photo you order is rarely the size of the frame on your wall. Matting, frame moulding, and rabbet depth all add inches on every side. This is one of the most common wedding photo print size mistakes we see.
Here’s the basic math. Start with your print size, then add the mat width on each side, then add the frame moulding width on each side. Multiply both numbers by two because the additions happen on both sides of the photo.
| Print Size | Mat Width (each side) | Frame Moulding Width (each side) | Approx. Final Frame Size |
|---|---|---|---|
| 8 x 10 | 2 inch | 1 inch | 14 x 16 |
| 11 x 14 | 2 inch | 1.5 inch | 18 x 21 |
| 16 x 20 | 2 inch | 2 inch | 24 x 28 |
| 24 x 36 | 3 inch | 2 inch | 34 x 46 |
When we frame an 8×10 print with a 2-inch mat and a 1-inch frame moulding, the finished piece measures roughly 14×16 inches. That detail matters when you’re measuring wall space, and it’s why an “8×10 print” rarely feels like an 8×10 on the wall.
Why This Math Matters
Skipping the math is how couples end up with prints that look comically small inside their frames, or frames that don’t fit the wall they were meant for. Always measure the final framed size, not just the print size, before you commit.
If you don’t want to do the math yourself, most professional framers will calculate it for you when you order. Just bring the print dimensions and ask for the final outer dimensions.
Resolution and DPI: How Large Can You Safely Print?
DPI stands for dots per inch, and it’s the single biggest factor in whether a large print looks sharp or pixelated. The rule our studio uses is 300 DPI for any print you plan to view up close, and 150 DPI is acceptable for large wall art viewed from across the room.
A 24-megapixel camera produces roughly 6000 x 4000 pixel files. At 300 DPI, that file will print cleanly at 20×13.3 inches. Push it to 24×36, and the DPI drops to around 167, which is acceptable for wall viewing but too soft for an album.
Most modern wedding photographers deliver files that handle up to 16×20 prints with no issues. Anything larger may require an upscaling service like Topaz or On1, especially if your photos were shot at lower ISO settings.
Quick DPI Reference
- 4×6 print: needs 1200 x 1800 pixels (300 DPI).
- 8×10 print: needs 2400 x 3000 pixels (300 DPI).
- 16×20 print: needs 4800 x 6000 pixels (300 DPI).
- 24×36 print: needs 7200 x 10800 pixels for 300 DPI, or 3600 x 5400 for 150 DPI.
If your files are smaller than these numbers, you’ll either see visible softness or you’ll need to downsize your print. There’s no shame in choosing an 11×14 over a 16×20 if your files can’t safely support the larger print.
UK vs US Wedding Photo Print Sizes: What to Know
Wedding photo print sizes differ slightly between the UK and the US, mostly because the UK uses metric measurements for standard frames. The actual print dimensions are similar, but the names and frame availability can throw off couples ordering across borders.
In the US, the most common frame sizes are 8×10, 11×14, 16×20, and 24×36 inches. In the UK, you’re more likely to find 10×8 inch, 14×11 inch, and 20×16 inch frames already made and ready to buy off the shelf.
If you’re ordering prints from a US-based lab to a UK address, your local frame shop may not carry a frame that fits perfectly. Either plan to custom-frame the print, or stick to sizes that have metric equivalents: 4×6 (10×15 cm), 5×7 (13×18 cm), and 8×12 (20×30 cm).
For couples planning a destination wedding in the UK or Europe, this is worth flagging with your photographer before the print order. Many photographers will deliver slightly tighter crops so your images fit both US and metric standard frames without losing the focal point.
Pro Tips for Choosing the Right Print Size
After photographing hundreds of weddings, our team has a few hard-earned rules for picking the right wedding photo print sizes.
Order one test print before committing to a full set. A single 8×10 from your favorite lab costs almost nothing compared to a wall full of 16x20s, and it tells you everything about color, contrast, and sharpness before you spend hundreds.
Pick one hero shot per room. Walls look cluttered when there are too many competing focal points. Choose the single image you love most for that space, then build around it.
Print in matched sets when you can. A trio of 8×10 prints in identical frames looks intentional and refined. A mix of three different sizes in three different frames reads as an afterthought.
Leave white space around the print. Many first-time buyers fill every inch of the wall. Real sophistication comes from generous matting, breathing room between frames, and prints that don’t crowd the corners.
Trust your photographer. If your wedding photographer recommends a specific lab, there’s usually a reason. Professional labs calibrate their printers to specific paper types, and that calibration shows up in skin tones, which matter most in wedding photography.
Frequently Asked Questions About Wedding Photo Print Sizes
What size should I get my wedding photos printed?
Most couples print their wedding photos between 8×10 and 16×20 inches. The right size depends on the display location: 8×10 works for tabletop frames, 11×14 fits bedroom walls, 16×20 anchors a living room, and 24×36 makes a true statement piece above a sofa or in an entryway.
What is the 2/3 photo rule?
The 2/3 photo rule says your framed photo should occupy about two-thirds of the wall space available. Measure the wall width and multiply the larger dimension by two-thirds to find the ideal frame width. This keeps prints from looking lost or overwhelming on the wall.
What is a good size for a wedding photo?
A good size for a wedding photo is between 11×14 and 16×20 inches for wall display, 8×10 for tabletop frames, and 5×7 for parent or grandparent gifts. Choose 24×36 only if your files have enough resolution (at least 7200 x 10800 pixels) and you have wall space for the finished frame.
Is 4×6 or 5×7 a better size for wedding photo prints?
5×7 is the better size for wedding photo prints you plan to frame or gift, because it offers more visual presence than 4×6 while still fitting standard frames. 4×6 works best for album inserts, thank-you cards, and guest book extras where small size is a feature, not a limitation.
Final Thoughts on Choosing Wedding Photo Print Sizes
The right wedding photo print sizes turn your images into living pieces of art, and the wrong sizes turn them into regret. Start with the display location, match the print to the wall or table, double-check your frame math, and confirm your files have the resolution to support the size you’ve chosen.
Pick one anchor image for each room, build the rest of the wall around it, and order a single test print before committing to a full set. That’s how our team guides every couple through the process, and it’s how you end up with wedding photos you’ll love looking at for the next 50 years.