
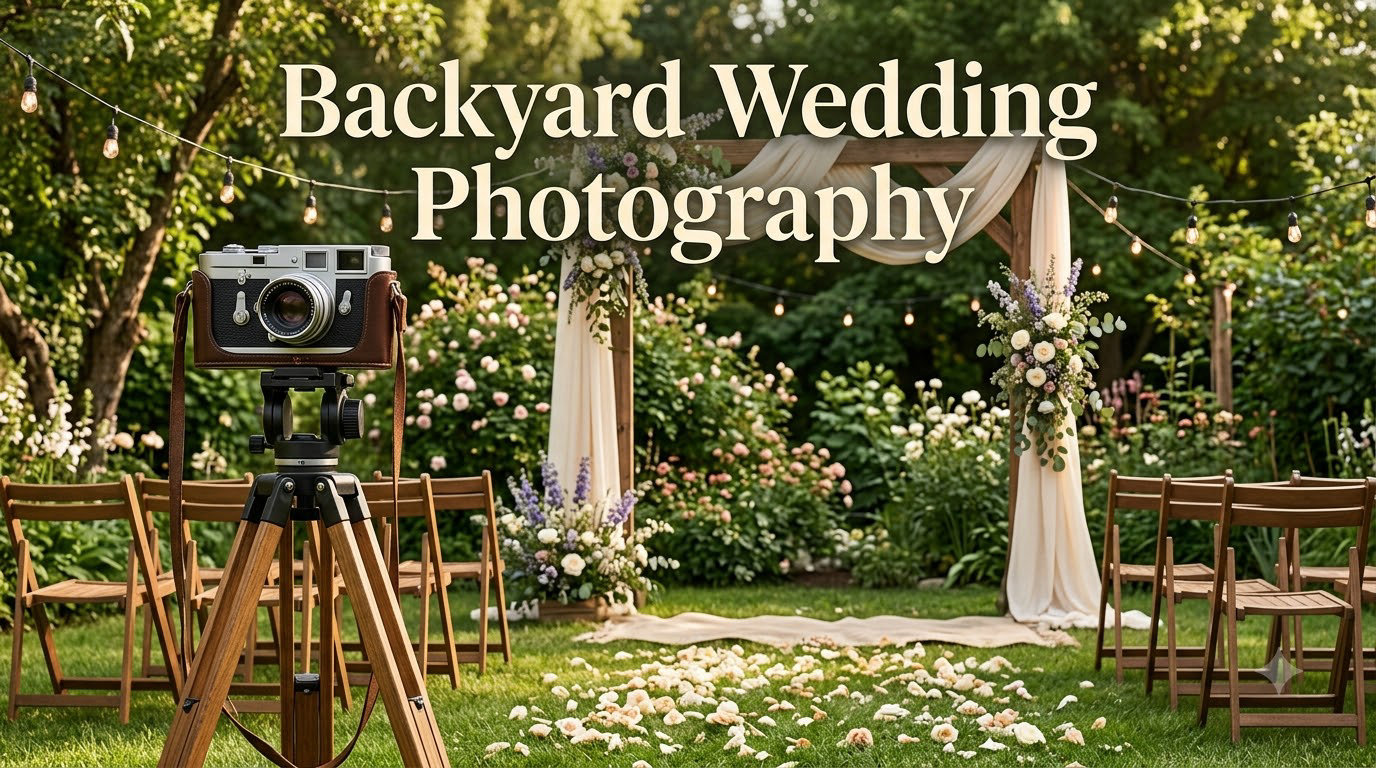
I have shot 47 backyard weddings in the last three years, and the lessons never get old. Backyard wedding photography looks simple until you face a brick wall of harsh sun, a hyperactive golden retriever, and a cousin who insists on holding a flamingo lawn ornament in every frame.
This guide pulls together what our team has learned the hard way. You will get the camera settings, lighting positions, and composition rules we now use on every outdoor wedding shoot.
Backyard weddings are intimate, personal, and full of meaning. They also come with very specific challenges that you do not see at hotel ballrooms.
Surrounding trees throw color casts on skin. Limited space forces creative framing. Weather is one cloudburst away from chaos. Our goal is to give you a plan that handles all of it.
The rise of smaller, more personal celebrations has fueled a backyard wedding boom. Industry reports suggest roughly 1 in 4 couples now consider a home or backyard venue for the ceremony or the reception.
That trend puts more photographers into backyards, and it puts more pressure on us to deliver images that look as polished as a ballroom gallery. The advice below is the playbook we use to meet that bar.
Table of Contents
Understanding Light Is the Foundation of Backyard Wedding Photography
Every great backyard wedding image starts with a lighting decision. I tell every new photographer on our team: nail the light, and the rest is composition.
Light sets the mood, controls your exposure, and decides whether faces look healthy or tired. Walk the yard before the day and mark which spots catch light at which hours.
Golden Hour Delivers the Most Forgiving Light
Golden hour is the 60 to 90 minutes just after sunrise or just before sunset. The sun sits low, light wraps around faces, and shadows turn soft and warm.
Skin tones glow. Squinting stops. Bridesmaids stop complaining.
I usually push couples to schedule the ceremony as close to golden hour as possible. When the day starts at 4 pm in summer, this works easily.
When the day is 11 am in spring, I shoot the couple portraits in golden hour and the ceremony in midday, then prioritize the formals for the right window.
One trick I love is the 30-minute cushion. Ask the couple to plan the ceremony, then slot the couple portraits 30 minutes after the ceremony ends.
That window almost always falls into golden hour, even on a 5 pm spring wedding. The couple walks away from the ceremony, drinks water, and meets you at the perfect spot. Everyone wins.
Midday Sun Demands a Different Strategy
You cannot always control timing. Midday weddings run when families need them to, and the sun sits high and harsh.
I treat the yard like a studio and search for open shade. The north side of the house, a patio awning, or a large tree (filtered through a diffuser) all work.
Open shade acts as a giant natural softbox. Faces look even, contrast drops, and color holds nicely.
I avoid dappled light because the bright spots on cheeks will not blend in post without hours of work.
For the ceremony itself, I position the couple so the sun stays behind me or to the side. Backlighting the couple is gorgeous when you have time to expose for faces, but in a fast ceremony, side lighting is safer.
Aim the sun down the aisle at about 90 degrees to the couple. Their faces stay lit, and the guests behind them get a soft rim of light on hair and shoulders.
Backlight, Side Light, and Front Light Explained
Front light is the sun on the couple’s faces. It is the easiest exposure but the flattest look.
Side light falls across the face at 45 degrees and creates depth with shadow on one side. Backlight puts the sun behind the couple and creates a halo around hair and shoulders.
For backyard weddings, I default to side light and reach for backlight only when the couple wants a dramatic portrait.
Camera Settings That Actually Work for Outdoor Weddings
Settings are personal, but a starting point removes the panic. I run these three on every outdoor shoot and adjust from there.
The goal is to capture the moment first and polish the look later.
A Reliable Aperture, Shutter, and ISO Starting Point
Start at aperture f/2.8 to f/4, shutter 1/200 second, and the lowest ISO that keeps the exposure right.
That range gives you creamy background separation plus enough shutter speed for walking and slow dancing.
If the couple is moving fast or doing their first dance, I push shutter to 1/400 or 1/500. If I want both partners sharp in a wide ceremony shot, I stop down to f/5.6 to f/8.
We always keep ISO below 3200 on modern full-frame cameras and 1600 on crop sensors. I will push higher for storytelling moments I cannot recreate.
Metering Modes That Save You From Blown Highlights
I switch the camera to spot metering and meter on the face. Evaluative metering is fine for landscape photography work, but at a wedding the sky and grass throw it off, and skin ends up muddy or blown.
Once I lock the meter on the face, I dial in plus one to plus two stops of exposure compensation. Weddings look best slightly brighter than the meter suggests.
Faces recover much better than a blown white dress.
I also use back-button focus with continuous AF on the couple’s faces. Tap once, the camera tracks, and I can recompose without losing focus on movement.
This is a small habit that pays off fast when the flower girl decides to photobomb the aisle walk.
Quick Reference Settings Cheat Sheet
Golden hour portraits: f/2.8, 1/400, ISO 100 to 400
Open shade ceremony: f/4, 1/250, ISO 400 to 800
Midday sun: f/4, 1/1000, ISO 100 to 200
Reception after sunset: f/1.8, 1/160, ISO 1600 to 3200
First dance: f/2.0, 1/250, ISO 800 to 1600
Sparkler exit: f/2.8, 1/60, ISO 800
I print this list on a card and tape it inside my camera bag. It saves a lot of thought on busy days.
Composition and Framing in a Confined Backyard
Composition is where backyard weddings separate from venue weddings. You cannot walk 20 feet for a wider shot.
Every angle has a hose, a trash can, or a fence. The good news is that constraint forces cleaner images, and clean images always look more professional for backyard wedding photography.
Choose the Backdrop Before You Choose the Lens
Walk the yard at least one hour before the ceremony. Note the spots with clean backgrounds.
A brick wall, a hedge, or a doorway of the house all become portrait studios if you frame against them.
Hide anything that does not fit the story. I have moved recycling bins, garden hoses, and even an inflatable dinosaur in the name of a clean shot.
Couples are always grateful. Take 10 minutes before the ceremony to scan every sightline and stash anything that will pull the eye.
Use natural frames. Trees, arbors, windows, and doorways all give you a built-in border that draws the eye straight to the couple.
A simple arch of branches or a flowering bush can become the entire frame for the ceremony shot.
Use Wide-Angle and Telephoto Lenses Strategically
Wide-angle lenses (24mm to 35mm) capture the full backyard atmosphere. They are perfect for the ceremony wide shot, the reception toast, and the couple with their home behind them.
Watch the edges, though; wide lenses distort faces at close range. Keep the couple toward the center of the frame and let the edges do the storytelling work.
Telephoto lenses (70mm to 200mm) compress backgrounds and turn small backyards into private estates. I use a 70-200mm f/2.8 for almost every candid portrait.
It lets me stay back, avoid interrupting the moment, and still get creamy backgrounds.
The 85mm f/1.8 is my favorite for romantic close-ups. It is light, affordable, and renders skin beautifully. If you only own one prime for weddings, this is the one.
Apply the Rule of Thirds and Negative Space With Care
The rule of thirds still works. Place eyes on the upper third line for portraits and let the rest of the yard breathe.
Avoid centering the couple in every frame; off-center compositions feel more cinematic and look more modern in the final album.
Negative space matters even more in small yards. A clean stretch of grass, sky, or a wall behind the couple gives the image room to feel emotional.
Cluttered backgrounds always compete with your subjects. When in doubt, shoot tighter and let the couple fill the frame.
Create Layers With Foreground Interest
Foreground interest adds depth without adding clutter. A flower stem, a chair leg, or a window frame in the lower third of the shot pulls the viewer into the scene.
I use this trick for 1 in 5 images in every backyard wedding gallery, and it always makes the couple feel like they are in their own world.
Handling Weather and Light Shifts on the Day
Weather is the wild card of outdoor weddings. I plan for it before the couple starts planning their flowers.
A 10-minute weather conversation saves hours of chaos on the day.
Build a Weather Backup Plan With the Couple
On every pre-wedding call, I ask three questions. Where is the rain backup (ideally indoors, even a large living room)? Where will portraits happen if it is raining? Where is the nearest off-site location within a 10-minute drive?
Brides panic when they think Plan B is a downgrade. It does not have to be.
A rainy portrait under a clear umbrella at a covered porch is gorgeous. A neighbor’s front yard across the street becomes a fresh backdrop. A local park with a gazebo gives you scale.
Many of my favorite images came from rainy Plan B setups because the couple relaxed and the light was soft.
Work With Overcast Skies as a Free Softbox
Cloud cover is a photographer’s gift. The sky acts as a giant diffuser, and shadows disappear. Skin looks like studio light.
I never complain about an overcast day because the images are often better than the sunny ones.
Watch for two issues. First, color casts shift cooler under heavy clouds, so warm your white balance by 500 to 1000K.
Second, low light under thick cloud can push your shutter speed too low. I bump ISO to 800 to 1600 without worry. Modern cameras handle this range cleanly, and the win in image quality is worth the extra noise.
Wind is the other variable. Strong gusts move hair, veil, and ties in ways that ruin a posed shot but make candid shots sing.
I lean into the chaos when it happens. A loose strand of hair across the bride’s face during a candid laugh is one of the most-requested images in my final galleries.
Pack a Kit for Quick Weather Shifts
Keep a clear umbrella, a microfiber towel, and a small reflector in the car. The umbrella handles sudden rain.
The towel wipes dust and water spray off lenses. The reflector fills shadows when the sun pops back out.
I have used all three inside the first 20 minutes of a wedding, and they cost less than a single memory card.
Backyard-Specific Challenges Nobody Talks About
These are the issues nobody warns you about until they hit you on the day. Every backyard wedding has at least one of them.
The best photographers learn to handle all three without breaking the flow.
Fix the Green and Yellow Color Cast on Skin
Grass reflects green. Trees reflect yellow and orange. Both reflect up onto faces and create a sickly cast that even RAW shooters notice late in post.
This is one of the most common complaints in backyard wedding photography, and it has a clear fix.
Three fixes help. First, shoot RAW so you can pull the white balance after the fact. Second, use a warming filter on the lens or warm white balance in camera by 1000 to 1500K.
Third, in editing, use the HSL panel in Lightroom or Capture One. Drop green saturation by 10 to 20 and shift green hue toward yellow for natural grass.
White balance is the single biggest post-processing win for outdoor work. Spend five minutes dialing it in and the whole gallery looks better.
Stage Family Portraits in a Tight Space
Backyard family portraits feel like herding cats. Everyone wants the same sunny spot, and there is never room for grandparents plus cousins plus the dog.
Without a plan, family formals eat 45 minutes of the day and leave the couple stressed.
I send the couple a shot list a week before the wedding with combinations and a rough time per grouping. On the day, I pick a corner of the yard with even light and walk combinations through it.
Ten minutes for 12 groupings is possible when you are organized. Five minutes is possible when you print the list and tape it to your camera strap.
I recommend hiring a family wrangler for larger weddings. A cousin with a clipboard saves 30 minutes and your sanity. They also keep Grandma from walking into the frame during the first kiss.
Manage Pets, Children, and Curious Neighbors
Pets and children make backyard weddings magical. They also crash formal portraits and steal focus from the ceremony.
Plan for them, and they become features instead of problems.
Assign one trusted person per pet so the photographer can call them in for two portraits and out again. Children get a 15-minute window right after the family formals, never during the ceremony.
Pets in the ceremony work beautifully when the officiant knows to wait for them, but a backup plan is essential.
Neighbors wander over. Politely greet them, ask them to step back during the aisle walk, and offer snacks. Most leave within five minutes.
A friendly baker showing up with leftover cupcakes usually clears the sidewalk fast.
Hide the Ugly: AC Units, Power Lines, and Trash Cans
Every backyard has at least one feature the couple wishes would disappear. An AC unit on the side of the house, a tangle of power lines over the lawn, or trash cans by the garage are all common culprits.
Walk the yard, identify them, and plan angles that crop them out before the day begins. A slight change in position turns most of these into invisible background.
Post-Processing Tips That Save Backyard Wedding Photos
Editing is where backyard weddings turn good shoots into great galleries. I use the same three-step pass for every outdoor wedding album in 2026.
Consistency in editing matters more than fancy filters.
Step one is white balance. I warm the image by 200 to 600K and remove green from skin using the HSL eyedropper.
Step two is shadow recovery. I pull shadows up by 20 to 30 percent to recover detail under trees and hats.
Step three is a subtle vignette and a slight S-curve in tone for that polished magazine look. The whole pass takes 30 seconds per image once you have done it 200 times.
I deliver a final gallery of 400 to 600 edited images. About 10 percent need color correction. The other 90 percent respond to my standard preset in 30 seconds each.
Speed matters when couples want sneak peeks within 48 hours. A fast turnaround also opens the door for referrals, since happy couples share their gallery quickly.
Always deliver a mix of color and black-and-white. Black-and-white hides the green cast on tough backgrounds and gives the album a timeless feel.
I aim for about 30 percent black-and-white in the final gallery, focused on ceremony and reception candids where mood matters more than color.
For backup, save two copies of every RAW file. One on the memory card until delivery, and one on an external drive within 24 hours of the shoot.
Hard drives fail. Cards fail. The couple’s only record of the day is in your files, so protect them like a wedding ring.
FAQs
What are tips for photographing a backyard wedding?
Scout the yard the day before, shoot during golden hour when possible, use open shade for midday, switch to spot metering on faces, and bring a 70-200mm lens for candid portraits. Plan a 10-minute family shot list and assign one handler per pet or child. Pack a clear umbrella and a small reflector as backup for weather and shadows.
How do you set up an outdoor wedding ceremony for great photos?
Face the couple away from the sun, place guests in even shade, clear the aisle of hoses and bins, and frame the ceremony with a tree arch, arbor, or doorway. Use an aisle width of at least 4 feet so your wide-angle lens captures both the couple and the smiles behind them. Hide AC units, trash cans, and power lines before guests arrive.
What is the best time of day for outdoor wedding photos?
Golden hour, the 60 to 90 minutes after sunrise or before sunset, gives the softest light, warmest tones, and easiest exposure on faces. Midday works in open shade. Overcast skies are a free softbox. Avoid direct overhead sun between 11 am and 3 pm whenever possible.
What camera settings should I use for a backyard wedding?
Start with aperture f/2.8 to f/4, shutter 1/200 to 1/400, and the lowest ISO your light allows. Use spot metering on the face with plus one to plus two stops of exposure compensation. Switch to continuous autofocus with back-button focus for moving moments like the aisle walk and the first dance.
How do you handle harsh sunlight at outdoor weddings?
Move the couple into open shade, turn the sun behind you for portraits, or backlight them and expose for faces plus one stop. Use a diffuser over harsh midday sun and avoid dappled light through trees. Tame bright skies in post with a graduated filter or by warming the white balance. Side light at 45 degrees is the safest default for ceremony coverage.
Final Thoughts on Backyard Wedding Photography
Backyard wedding photography rewards photographers who plan light, scout the space, and stay calm when the dog walks into the aisle.
Use the settings and approach above and your next outdoor wedding will be the smoothest shoot of the year. Photography is problem-solving, and backyards give you the most interesting problems to solve.
For more on outdoor ceremonies, our 2026 guide to natural light wedding photography walks through the rest of the lighting playbook.
Save the camera settings card, walk the yard, and the rest will follow.