
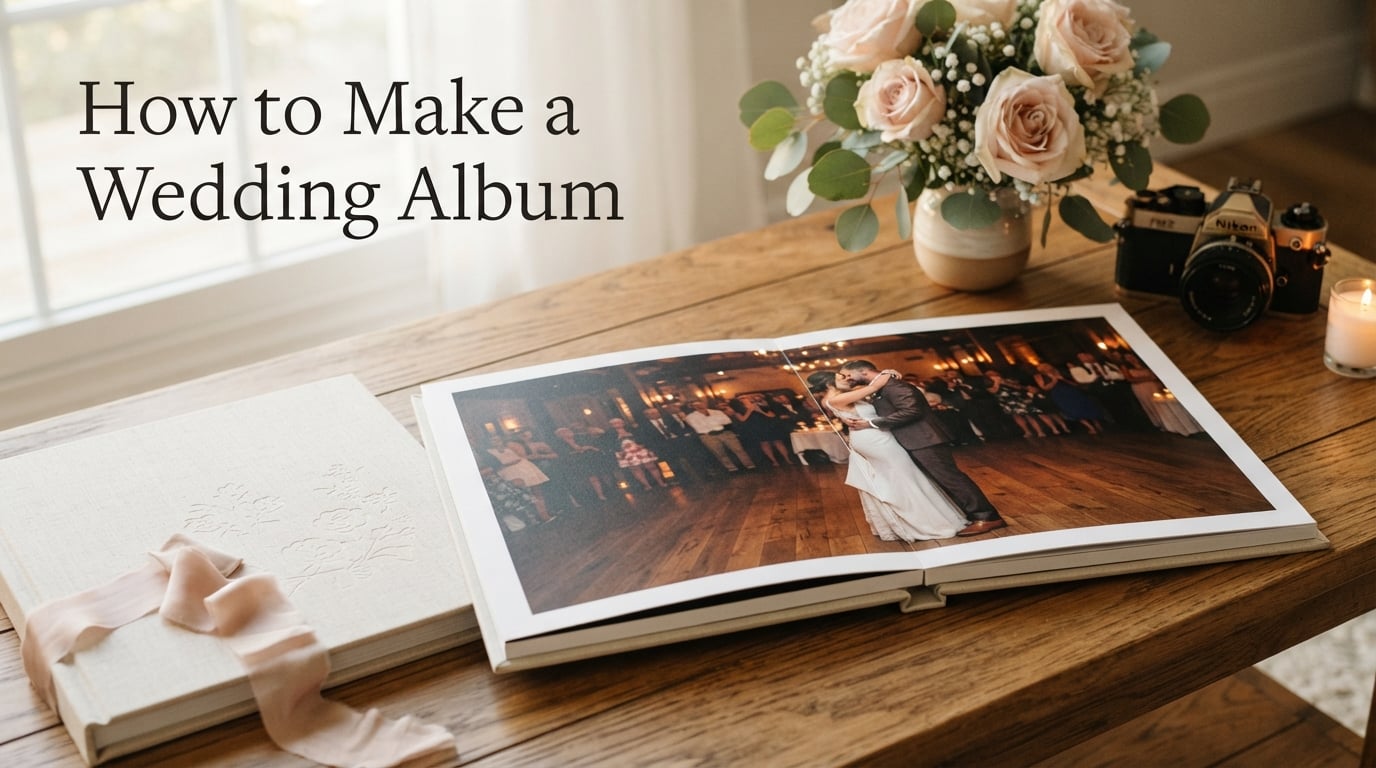
Your wedding day flies by in what feels like minutes. I have heard the same story from hundreds of couples over the years: by the time you finish the reception, the moments blur together into a beautiful haze. A wedding album pulls those moments back into focus. It turns thousands of digital files into one tangible keepsake you can hold, share, and pass down.
This guide on how to make a wedding album walks you through the entire process from start to finish. I will cover how to select your best photos, organize them chronologically, choose the right album format, design layouts that actually look good, and print something you will treasure for decades. By the end, you will have a clear plan and zero excuses to keep those photos stuck on your hard drive.
Most couples spend between 8 and 12 weeks building their album when they break the work into manageable sessions. The hardest part is starting. Once you commit to the process, the decisions get easier with every page you design.
Table of Contents
How to Make a Wedding Album: Step-by-Step Process
Creating a wedding album follows eight clear steps. I have watched couples agonize over the project for months because they tried to do everything at once. The trick is to work through one phase at a time and trust the order. Each step builds on the one before it, so skip ahead and the later stages feel impossible.
Step 1: Gather All Your Wedding Photos
Before you can curate anything, you need everything in one place. Start by downloading the full gallery from your photographer. Most pros deliver between 400 and 800 edited images, and you will want every single one for the selection phase.
After the photographer files are on your computer, add any guest photos you collected. Create a shared album on Google Photos or Dropbox and ask close friends and family to upload their candids. These informal shots often capture moments your photographer missed, especially during the reception.
Organize the raw collection into a single folder with subfolders for each phase of the day. Getting ready, ceremony, portraits, reception, and send-off. This folder structure becomes your working library for the next several weeks.
Step 2: Curate Your Favorite 50 to 100 Shots
This is where most couples stall out. You have 800 photos staring back at you, and every single one feels important. I tell every couple the same thing: your album needs breathing room. Cramming 200 photos into a 30-page book turns a keepsake into a contact sheet.
Aim for 50 to 100 final images for a standard 20 to 40 page album. That gives you one to three photos per spread, which leaves room for white space and visual variety. Professional albums from Artifact Uploading and similar services recommend staying in this range because layouts work best with restraint.
When you are choosing, focus on three criteria. First, emotion: does the photo make you feel something? Second, detail: did someone spend hours on a dress, shoes, or table setting that deserves its own page? Third, story progression: does this image move the narrative forward or fill a gap?
Save your initial selections to a new folder called “Album Candidates.” Give yourself permission to sit with this folder for a few days before finalizing. Emotional clarity improves with distance.
Step 3: Organize Photos Chronologically
A wedding album is a story, and stories have a beginning, middle, and end. Chronological order is the standard approach because it mirrors how the day actually unfolded. Your guests experience the same arc when they flip through the pages.
Start with the details: the dress hanging in the window, the invitation suite, the rings, the shoes. These shots set the scene and build anticipation. Move into getting ready photos with both partners, then the ceremony, family portraits, couple portraits, reception details, the first dance, toasts, dancing, and finally the send-off.
Within each section, group similar moments together. All the ceremony photos go in one cluster. All the reception candids go in another. Avoid jumping back and forth between time periods because it confuses the reader and breaks the rhythm.
Step 4: Choose Your Album Format and Style
Your format decision affects everything that follows: layout options, cover choices, and price. Three formats dominate the wedding album market, and each serves a different purpose.
A layflat album opens completely flat across two pages, which makes panoramic shots and double-page spreads look stunning. The binding does not eat into the image, so you get the full visual impact of every photo. Layflat albums from services like Artifact Uprising cost more, but the quality is what most couples want for their primary wedding keepsake.
A flush mount album is similar to layflat but with photos printed directly onto thick cardstock pages. The result is a heavier, more substantial feel. Flush mount is the gold standard for luxury wedding albums and is what most professional photographers offer as their top-tier product.
A hardcover photo book is the budget-friendly option from services like Shutterfly, Mixbook, or Blurb. These books have a visible gutter in the middle where pages meet, which can crop panoramic shots. They are perfect for parent albums, guest books, or secondary copies.
Step 5: Pick a Theme or Layout
Your theme ties the whole album together visually. Without one, the pages feel disconnected even when the photos are great. Theme does not mean a color scheme only. It includes typography, layout style, photo treatment, and the overall mood.
Classic albums use neutral backgrounds (white, cream, soft gray) with minimal embellishment. The photos do all the talking, and the layout stays out of the way. This approach works well for traditional weddings with timeless photography.
Modern albums lean into bold layouts, colored backgrounds, mixed page sizes, and graphic elements. If your wedding had a specific aesthetic (modern industrial, boho garden, mid-century), your album can echo that with matching design choices.
Most album services offer designer templates you can start from. Templates save time and teach you good layout principles as you go. Just make sure the template fits your photo count, since a template designed for 50 photos will leave huge gaps if you only have 30.
Step 6: Design the Page Layouts
Now the real work begins. You will spend most of your project time inside the design tool, placing photos on spreads, adjusting sizes, and tweaking positioning. A few design principles will keep your layouts looking professional.
Embrace white space. Empty space is not wasted space. It gives the eye a place to rest and makes individual photos feel more important. A page with one large image and lots of breathing room often looks more polished than a page with five cramped photos.
Vary your layouts. Do not use the same template on every spread. Mix single-photo pages with collages of two, three, or four images. Use one full-bleed photo (edge to edge) every few spreads to break up the rhythm and showcase a hero shot.
Mind the resolution. Upload only high-resolution images, ideally 300 DPI at the final print size. Anything lower will print blurry or pixelated, and there is no fixing that after the fact. Most photographers deliver images at full resolution, but if you are using phone photos, check the file size before uploading.
Use double-page spreads sparingly. A panoramic shot of the venue or a wide ceremony angle makes a powerful double-page spread. But if every page is a spread, nothing feels special. Save them for the moments that deserve the full canvas.
Step 7: Select a Cover Material
The cover is the first thing anyone sees, so choose something that reflects your style. Album services offer several material options, each with its own character.
Linen is a popular choice for its understated elegance. It comes in dozens of colors and works for both traditional and modern weddings. Linen covers hold up well over time and develop a soft patina with handling.
Leather feels substantial and heirloom-worthy. Genuine leather albums can last for generations when properly cared for. They cost more, but if you want one album that will outlast you, leather is the move.
Fabric and velvet covers add texture and a custom feel. Some services offer photo covers where your favorite image wraps around the front, back, and spine. This option turns the album itself into a photo, though the cover will fade faster than a fabric or leather option if handled often.
Most services let you add embossed text to the cover: your names, wedding date, or a short phrase. Keep the text minimal. A clean cover with one or two lines of foil-stamped lettering looks more refined than a busy design.
Step 8: Review, Print, and Display Your Album
Before you hit order, do a final review pass. Look at every spread with fresh eyes, ideally after a day away from the project. Check for typos in any captions, awkward cropping, or photos that no longer fit the story.
Have someone else review it too. A friend or family member who was not involved in the design will catch issues you have gone blind to. Many professional album designers recommend a second set of eyes as a non-negotiable step.
Once you are happy, place the order. Most premium services take 3 to 6 weeks for production and shipping. Build that into your timeline, especially if you want the album ready for an anniversary or a holiday gift.
When the album arrives, give it a permanent home. A coffee table, a dedicated shelf in the living room, or a special drawer in your bedroom. Albums that get looked at get loved. Albums that get buried in a closet get forgotten.
How Many Photos Do You Need for a Wedding Album?
The short answer: between 50 and 100 photos for a standard 20 to 40 page album. This range has emerged as the industry standard because it leaves enough room for storytelling without overcrowding each page.
Here is a quick guide based on album size:
- 20 pages (10 spreads): 30 to 50 photos
- 30 pages (15 spreads): 50 to 75 photos
- 40 pages (20 spreads): 75 to 100 photos
- 50 pages (25 spreads): 100 to 125 photos
If you have more than 100 photos you love, you have two options: extend the album to 50 or 60 pages, or split the photos into two volumes. Many couples create a primary album for the living room and a secondary album for parents or grandparents.
DIY vs Professional Wedding Album: Which Is Better?
I have seen both approaches work beautifully, and I have seen both go wrong. The right choice depends on your budget, timeline, and design comfort level.
DIY albums through services like Shutterfly, Artifact Uprising, or Blurb cost between $80 and $400 depending on size and materials. You control every layout decision, you can revise as many times as you want, and you can take as long as you need. The downside: design takes time, and the result depends entirely on your eye for layout.
Professional albums through your photographer cost between $400 and $1,500, often included as part of a higher-tier wedding package. The photographer or their album designer handles the layout using professional software. The result is usually more polished, and it saves you dozens of hours of work. The downside: less personal control, longer revision cycles, and higher cost.
My honest recommendation: if your budget allows it, hire a professional designer for at least your primary album. The cost reflects the time and skill involved, and you end up with a product that looks intentional. Use DIY services for parent albums, guest books, and secondary copies where the stakes are lower.
If budget is tight, DIY is absolutely a valid choice. Thousands of couples create beautiful albums themselves every year. Just budget more time than you think you will need and start with a clean, simple template.
How Much Does a Wedding Album Cost on Average?
Costs vary widely based on format, size, and cover material. Here is what to expect in 2026:
- Budget DIY (Shutterfly, Walmart, Costco): $30 to $100
- Mid-range DIY (Artifact Uprising, Blurb, Mixbook): $150 to $400
- Professional album from photographer: $400 to $1,500
- Luxury flush mount album: $1,000 to $3,000+
Page count is the biggest cost driver after format. Each additional 10 pages typically adds $40 to $100 to the final price. Cover upgrades (leather, velvet, photo wrap) add another $50 to $200.
Couples often ask who pays for the album. In traditional arrangements, the couple pays. In some families, parents contribute as a wedding gift. If your photographer includes an album in their package, you are paying for it indirectly through their higher service fee.
How Long Does It Take to Make a Wedding Album?
Plan for 8 to 12 weeks from photo delivery to finished album in your hands. Here is a realistic breakdown:
- Weeks 1 to 2: Gathering photos and making initial selections
- Weeks 3 to 4: Refining the selection and organizing chronologically
- Weeks 5 to 7: Designing layouts and choosing cover materials
- Week 8: Final review and ordering
- Weeks 9 to 12: Production and shipping
Most couples underestimate the design phase. They expect to finish layouts in a weekend and discover that one spread can take an hour to get right. The forum complaints I see most often are from couples who tried to finish in a week and burned out halfway through.
Break the work into sessions of two to three hours each. Design five to seven spreads per session, save your progress, and step away. Your eye gets tired and your decisions get worse after about three hours of continuous layout work.
Many couples regret waiting too long to start. The longer your photos sit on a hard drive, the less motivated you feel. Set a start date within one month of receiving your gallery, even if you only spend an hour gathering photos that first day.
Frequently Asked Questions
Can I create a wedding album myself?
Yes. Thousands of couples create their own wedding albums every year using online services like Shutterfly, Artifact Uprising, or Blurb. DIY albums cost less and give you complete control over the design. The trade-off is time: expect to spend 20 to 40 hours on the project from selection to final order.
Is it better to DIY a wedding album?
DIY is better if you want control and have time to design. Professional albums are better if you want a polished result with minimal effort. Budget matters too: DIY runs $80 to $400, while professional albums run $400 to $1,500. Many couples do both: a professional primary album and DIY copies for parents.
How do you structure a wedding album?
Structure your album chronologically from start to finish. Begin with detail shots (dress, rings, venue), then getting ready photos, the ceremony, family portraits, couple portraits, reception details, the first dance, toasts, dancing, and the send-off. This order mirrors how the day unfolded and creates a natural narrative flow.
Who usually pays for the wedding album?
The couple typically pays for the wedding album, either out of pocket or as part of a photography package. Some parents contribute as a wedding gift, especially for parent albums. If your photographer includes an album in their package, you are paying for it indirectly through their service fee.
How many photos for a 20 page wedding album?
For a 20 page album (10 spreads), aim for 30 to 50 photos. That allows one to three images per spread with enough white space for visual breathing room. Cramming more photos into 20 pages makes the layout feel crowded and reduces the impact of each individual image.
Start Your Wedding Album Today
You now have the complete roadmap for how to make a wedding album that you will love for decades. Gather your photos, curate to 50 to 100 favorites, organize chronologically, pick your format, design with white space, and order something beautiful. The hardest part is opening the design tool for the first time, so commit to one hour this week. Pull up your photos, make your first selection, and momentum will carry you the rest of the way.
Your wedding album is not just a photo project. It is the physical artifact that future generations will pull off a shelf to see how your story began. Make it count.