
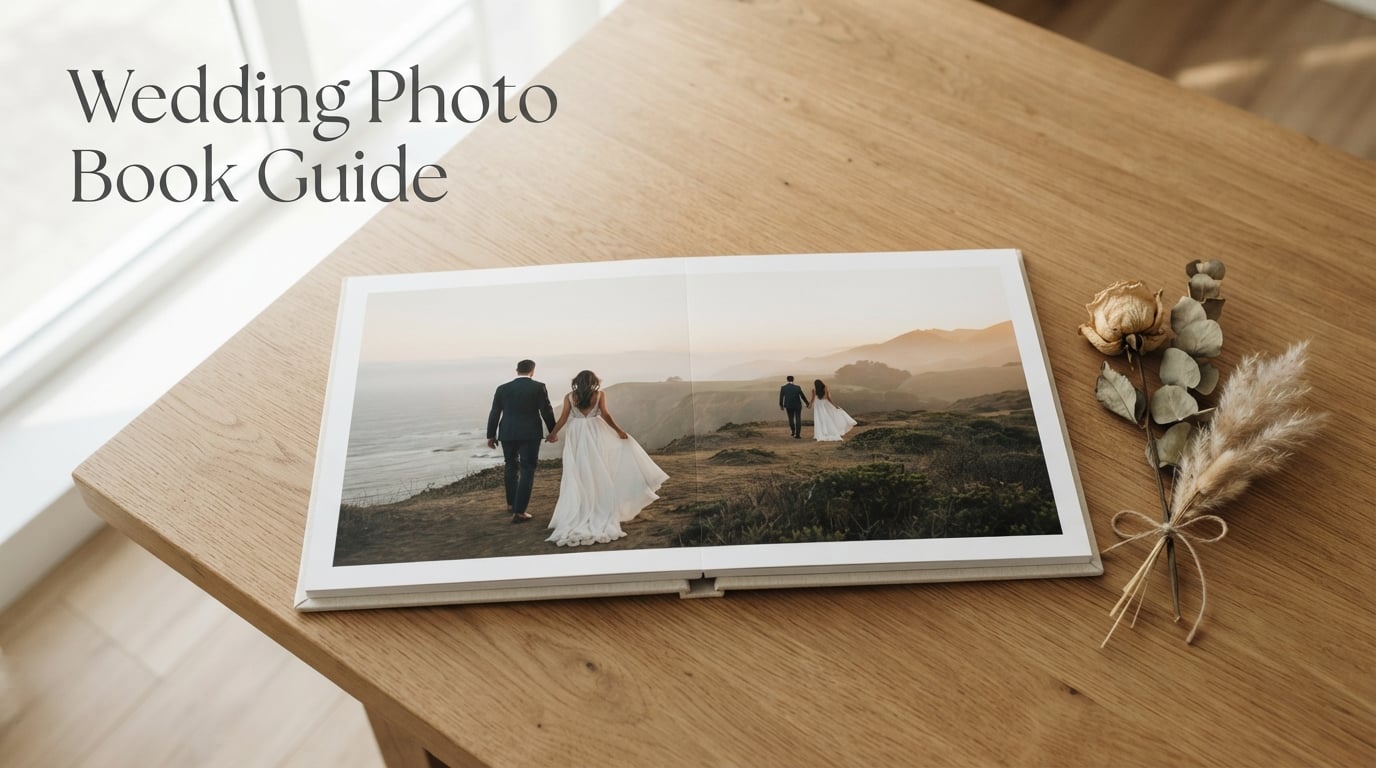
Your wedding day will pass in a blur of joy, tears, and laughter, but the photos will remain. I have been part of more than 400 weddings over the last decade, and I have watched couples handle their finished wedding photo book months after the wedding. The ones who love their album the most are the ones who planned it deliberately. This wedding photo book guide walks you through the same process I use with our Kingdom Wedding Photography clients.
You will learn how to choose your best images, pick the right format and size, design a layout that tells your story, and select materials that hold up for decades. I will share specific photo counts, real budget ranges, and the eight steps that turn thousands of files into a single keepsake you will actually pick up again and again.
If you only have an hour, skip to the eight steps section. If you want the full framework, read it in order. Either way, you will end up with a wedding photo book you are proud to hand down.
Table of Contents
What Is a Wedding Photo Book
A wedding photo book is a curated, printed collection of your wedding photographs, bound together in a keepsake format designed to tell the story of your celebration.
Unlike a stack of digital files on a hard drive, a wedding photo book is something you can hold, share, and pass down. It is built with archival-quality paper, sturdy binding, and a protective cover so it survives decades of coffee-table use and family memories. Most couples create one main album and sometimes smaller parent albums for relatives.
You will hear three terms used almost interchangeably: photo album, photo book, and wedding magazine. They each refer to a slightly different product. I break those down in Step 3, because the choice you make there shapes everything from cost to image size to how the pages feel when you turn them.
8 Steps to Create the Perfect Wedding Photo Book
Creating a wedding photo book does not have to be overwhelming. I have distilled our studio process into eight clear steps that take most couples between 8 and 20 hours of total work, spread across a few weekends. Use this checklist to keep your project on track.
- Gather and organize your photos – sort your full gallery into a working folder.
- Pick your favorite shots and curate – whittle down to the 50 to 100 best images.
- Choose your album format – photo album, photo book, or magazine style.
- Select your album size – typically between 8×8 and 14×14 inches.
- Pick a theme and layout style – chronological, by event, or color-coded.
- Design with storytelling in mind – pace your spreads like chapters.
- Choose cover materials and paper – linen, leather, lustre, or matte finishes.
- Finalize, print, and preserve – proof, order, and store properly.
The rest of this guide walks through each step in detail, with real numbers, common pitfalls, and the questions to ask your printer before you click order.
Step 1: Gather and Organize Your Photos
Gathering and organizing your photos means collecting every image from your photographer, family, and friends into one place, then sorting them by event so you can see your full story.
Start by requesting the full edited gallery from your photographer. Most pros deliver 400 to 800 edited images for a full-day wedding. Pull in candid shots from guests, getting-ready selfies, and any rehearsal dinner coverage. Drop everything into a single folder before you start making decisions.
I recommend creating subfolders for each part of the day: getting ready, first look, ceremony, family portraits, couple portraits, reception, and details. This matches how most professional wedding albums are sequenced and saves you time when you build spreads later.
How Many Photos to Start With
How many photos you should start with depends on the length of coverage, but most couples end up with 500 to 1,200 total images after merging photographer and guest photos.
Do not panic at the number. You will not use all of them. The goal of this step is to get every image in one place so nothing important gets lost. From here, you will curate down to the keepers.
Step 2: Pick Your Favorite Shots and Curate
Picking your favorite shots means reviewing your full gallery and selecting the 50 to 100 images that best capture the emotion, story, and details of your wedding day.
Most professional wedding albums contain between 50 and 100 final images. I have found that 80 images across 20 to 25 spreads gives you enough room for storytelling without feeling bloated. Each spread (two facing pages) usually holds 2 to 6 photos depending on layout.
Use a star rating or color tag system as you review. Flag any photo that makes you feel something – laughter, tears, awe. Skip technically perfect shots that mean nothing to you personally. The album should reflect your day, not just your photographer’s portfolio.
Must-Have Moments Checklist
Here are the must-have moments every complete wedding photo book should include:
- Getting ready details (dress, shoes, rings, invitations)
- First look or pre-ceremony portraits
- Ceremony highlights (vows, rings, kiss, recessional)
- Family formals with parents and grandparents
- Wedding party group shots
- Couple portraits with multiple locations
- Reception entrance and first dance
- Toasts, cake cutting, and special dances
- Detail shots of florals, decor, and signage
- Candid moments of guests laughing and celebrating
Aim for variety in each section. Mix wide establishing shots, medium group shots, and tight detail close-ups so each spread feels alive.
Step 3: Choose Your Album Format
Choosing your album format means deciding between a photo album, a photo book, and a magazine-style product. Each has different binding, paper, and image size limits.
Here is a quick comparison of the three main formats so you can pick the one that matches your style and budget.
Photo Album – Thick board pages, layflat or flush mount binding, prints mounted or printed directly on the page. The premium choice. Best for large panoramic shots across a spread. Highest cost, longest lifespan.
Photo Book – Traditional binding with flexible pages, printed digitally. More affordable, faster to produce. Pages may not lay fully flat. Good for everyday photo books and parent gifts.
Magazine Style – Saddle-stitched or perfect-bound like a glossy magazine. Lightweight, sleek, lower cost. Best for casual storytelling, engagement shoots, or smaller parent albums.
If this is your one and only heirloom album, go with a layflat photo album. The board pages let you print a single panoramic image across both pages without losing the center crease. That single feature is why most professional wedding albums use this format.
Layflat vs Flush Mount Explained
Layflat binding means the pages open completely flat without a seam in the middle. Flush mount means the print is mounted directly onto a thick board page so the image is one continuous surface.
Both options give you a premium feel. Flush mount is a step up in rigidity and weight, often paired with thicker cover materials. If you want a magazine-quality heirloom that feels substantial in your hands, flush mount is the way to go.
Step 4: Select Your Album Size
Selecting your album size means choosing between standard square formats, typically ranging from 8×8 inches up to 14×14 inches, or landscape options like 10×8 and 12×9.
Size affects both impact and cost. A larger album feels more dramatic but requires bigger spreads and increases the price per page. Here is the breakdown I share with our couples during consultations.
- 8×8 inches – Compact, easy to share, lower cost. Good for parent albums.
- 10×10 inches – The sweet spot for most couples. Balanced price and presence.
- 12×12 inches – Premium feel with room for larger group portraits.
- 14×14 inches – Statement piece. Best for venues with dramatic landscapes.
- 12×9 landscape – Cinematic feel, great for detail and architecture shots.
For a main heirloom album, I usually recommend 10×10 or 12×12. Anything smaller feels less like a keepsake and more like a coffee table book. Anything larger becomes harder to store and share.
Step 5: Pick a Theme and Layout Style
Picking a theme and layout style means choosing how your images will be arranged across spreads, whether chronologically, by event, by color palette, or by emotional arc.
Most couples default to chronological order because it mirrors how the day actually unfolded. That is a solid choice, but it is not your only option. Some couples arrange spreads by mood – quiet moments, big celebrations, family, and details – rather than time. Both approaches work if you commit to one.
Popular Theme Styles
Here are three theme styles that work well for most wedding photo books:
Chronological – From getting ready to send-off. Easy to follow, matches how guests experienced the day.
By Event – Group images by ceremony, portraits, reception, then arrange each section thoughtfully. Good for weddings with multiple locations.
Color or Tone – Arrange spreads by color palette or mood, like warm sunset tones in one section and bright reception shots in another. More editorial, very modern.
Whichever you pick, stay consistent. Mixing two styles in the same album usually feels disjointed unless you separate them with a divider page.
Step 6: Design With Storytelling in Mind
Designing with storytelling in mind means pacing your spreads like chapters so the reader experiences your wedding as a story, not a slideshow.
Each spread should have a clear focus. Pick one hero image per spread and let the supporting photos play a supporting role. Resist the urge to fill every inch. White space and clean layouts let your best images breathe.
A good rhythm follows a simple pattern. Start with detail shots (invitation, dress, rings) to set the scene. Move into emotional preparation (getting ready, first look). Build to the ceremony as your climax. Then unwind with portraits, family, and a reception montage that ends on a high-energy dance floor image.
Design Tips for Better Spreads
Here are the design tips I give every couple before they open their design software:
- Use white space. Two images per spread beats six cramped images every time.
- Vary your layouts. Mix full-bleed spreads with multi-image grids to keep the eye engaged.
- Anchor with one hero shot. Every spread should have a clear focal point.
- Stay consistent with margins. Align your images to a consistent grid for a polished feel.
- Add captions sparingly. Use them for dates, locations, or quotes – not every photo.
If design is not your strength, most album companies offer template-based design studios that auto-arrange your photos. They are surprisingly good, and they remove the hardest part of the process.
Step 7: Choose Cover Materials and Paper
Choosing cover materials and paper means selecting the exterior fabric or leather and the interior paper finish that will protect your photos for decades.
Your cover is what people see and touch first. Your paper is what your photos are printed on. Both deserve attention. Here is a quick guide to the most popular options.
Cover Material Options
Linen – Textured fabric, classic look, available in many colors. The most popular choice for modern wedding albums.
Leather – Premium and traditional. Develops a patina over time. Higher cost.
Faux Leather – Vegan-friendly, durable, slightly lower cost than real leather.
Photo Wrap – Your favorite wedding image printed directly on the cover. Personal and dramatic.
Velvet or Silk – Soft, luxurious, and tactile. Less common, very elegant.
For the main heirloom album, linen and leather are the safest long-term choices. Both age beautifully and resist wear better than photo wraps, which can scratch over time.
Paper Finish Comparison
Lustre – Slight sheen, hides fingerprints, true-to-life colors. The industry standard for wedding albums.
Matte – Zero glare, soft and modern. Great for black-and-white and skin tones.
Satin – Between lustre and matte. A balanced compromise.
Glossy – High shine, vibrant colors. Shows fingerprints easily. Less common for albums.
Metallic – Pearlescent finish with rich depth. Premium choice for high-impact spreads.
I send most of our couples home with a lustre paper sample alongside a matte sample. About 70% choose lustre for its forgiving finish. If your wedding has a moody or fine-art style, matte is a beautiful match.
Step 8: Finalize, Print, and Preserve
Finalizing, printing, and preserving your wedding photo book means proofing every page, ordering your album, and storing it properly so it lasts for generations.
Once your design is locked, do one final review spread by spread. Check for typos in captions, image bleeds that cut off faces, and consistency in margins. Then upload and order. Most albums take 2 to 6 weeks to print and ship depending on the company and shipping method.
When your album arrives, store it in a cool, dry place away from direct sunlight. Avoid attics and basements where humidity swings can warp pages. If your album came with a presentation box, keep it in the box when not on display.
How to Care for Your Wedding Album
Caring for your wedding album means handling it with clean hands, storing it flat or upright, and keeping it out of harsh light.
- Wipe cover with a soft, dry cloth every few months.
- Avoid stacking heavy items on top of the album.
- Keep out of direct sunlight to prevent fading.
- Store flat or upright – never on its spine for long periods.
- Use acid-free tissue between pages if you add mementos.
Treated well, an archival-quality wedding album will last 50 years or more. I have clients whose parents’ wedding albums from the 1970s still look beautiful, and the materials we use today are even better.
Wedding Photo Book Buying Guide: Decisions That Matter
Now that you have the eight steps, here are the four most important buying decisions that affect both cost and the final product. These are the questions I cover with every couple in our studio consultation.
Budget and Cost Breakdown
The average cost of a wedding photo book ranges from $200 for a basic photo book to $800 or more for a premium layflat heirloom album with a presentation box.
Here is what drives the price:
- Format – Layflat albums cost more than photo books.
- Size – Larger albums cost more per spread.
- Page count – Most companies charge per spread, often $15 to $40 each.
- Cover material – Leather costs more than linen, photo wraps vary.
- Paper finish – Metallic and archival papers cost more than standard lustre.
- Add-ons – Presentation boxes, parent albums, and rush shipping add cost.
For a 10×10 layflat album with 20 spreads, linen cover, and lustre paper, you should budget between $350 and $600. Add a presentation box for another $50 to $150.
Timeline: How Long It Takes
The average wedding photo book takes between 4 and 12 weeks from start to finish, including photo selection, design, proofing, printing, and shipping.
Here is a realistic timeline:
- Week 1 to 2 – Receive gallery, gather photos, organize by event.
- Week 3 to 4 – Curate down to 50 to 100 favorites.
- Week 5 to 7 – Design spreads using templates or design software.
- Week 8 – Proof, finalize, and submit to printer.
- Week 9 to 12 – Print and ship to your door.
Most couples spread the work over weekends. Trying to do it in one sitting almost always leads to fatigue and second-guessing your favorites.
DIY vs Professional Design
DIY design gives you full control and lower cost. Professional design gives you a polished result and saves time. Here is how to decide.
DIY is right if you have an eye for layout, enjoy creative work, want to save $200 to $500, and have 10 to 20 hours to invest. Most modern design studios from Artifact Uprising, Milk Books, and similar companies walk you through the process with templates.
Professional design is right if you have limited time, want a curated editorial look, have a large budget, or want zero stress. Many wedding photographers offer album design as an add-on service.
About 60% of our couples choose a hybrid approach: they select the photos, and we handle the layout. You get the personal touch without the design headaches.
Common Mistakes to Avoid
Here are the mistakes I see most often, and how to sidestep each one:
- Too many photos. 80 strong images beat 150 average ones. Less is more.
- No story arc. Random spreads feel disjointed. Sequence with intention.
- Ignoring white space. Crowded layouts cheapen great photos.
- Skipping the proof. Typos and cropped faces are common. Always do a final review.
- Choosing paper by price. Cheap paper fades and feels wrong. Invest in lustre or better.
- Skipping the presentation box. It protects your album and makes it feel like a true heirloom.
- Waiting too long. The longer you wait, the less likely it gets done. Start within 3 months of the wedding.
Avoid these seven pitfalls and you will end up with an album you are proud to display on day one and happy to revisit for decades.
Personalization Ideas Beyond Photos
The best wedding photo books include more than just images. Here are personalization ideas that turn an album into a true keepsake.
Add captions with inside jokes, song lyrics from your first dance, or short notes about what was happening in each moment. Slip a copy of your vows into a back pocket. Press a dried flower from your bouquet between pages using acid-free tissue. Include a scan of your invitation suite or a handwritten note from a loved one.
These small touches take an album from a photo collection into a family story. I have clients whose children now flip through their wedding album and ask about every handwritten note – which is exactly what a keepsake should do.
Frequently Asked Questions
What to include in a wedding photo book?
A wedding photo book should include detail shots of your dress, rings, and florals; getting ready moments; the ceremony highlights; couple portraits; family formals; reception key moments like first dance and toasts; and candid guest reactions. Aim for 50 to 100 total images that capture the full emotional arc of the day.
How many photos should be in a wedding photo book?
Most wedding photo books contain between 50 and 100 final images, arranged across 20 to 25 spreads. Each spread typically holds 2 to 6 photos depending on layout. Using fewer, stronger images almost always produces a more compelling album than cramming in every shot.
What is the best wedding photo book format?
The best wedding photo book format for most couples is a 10×10 or 12×12 layflat photo album with thick board pages, lustre paper, and a linen or leather cover. This format lets you print panoramic images across both pages without a center crease, creating a true heirloom piece that lasts for decades.
How much does a wedding photo book cost?
A wedding photo book typically costs between $200 for a basic photo book and $800 or more for a premium layflat heirloom album with a presentation box. The main cost drivers are format, size, page count, cover material, and paper finish. A 10×10 layflat album with 20 spreads and a linen cover usually runs $350 to $600.
How long does it take to make a wedding photo book?
Most wedding photo books take between 4 and 12 weeks from start to finish. The first 2 to 4 weeks go to gathering, organizing, and curating photos. Design and proofing take another 2 to 3 weeks. Printing and shipping add another 2 to 4 weeks depending on the company and shipping method.
Conclusion
A wedding photo book is one of the few investments from your wedding day that you will still use 30 years from now. This wedding photo book guide gives you the same eight-step framework our studio uses with every couple: gather and organize, curate, choose your format, pick a size, select a theme, design with storytelling, choose materials, and finalize with care.
Start within three months of your wedding while the details are still fresh. Block a few weekends, follow the steps in order, and you will end up with a keepsake that captures the feeling of your day for generations. If you want help curating photos or designing spreads, our team at Kingdom Wedding Photography is always happy to talk through the process with you.